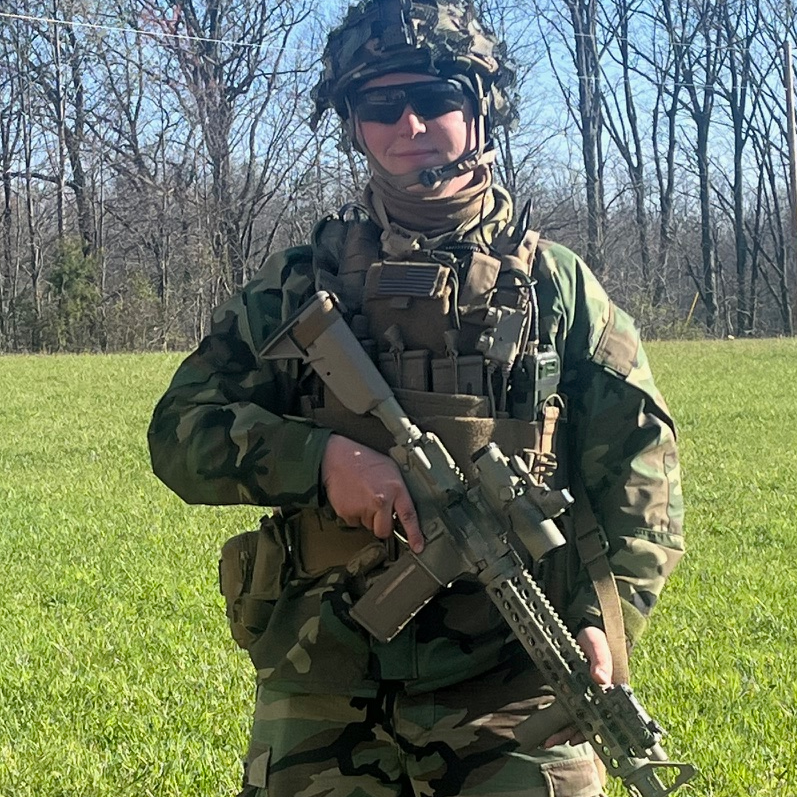
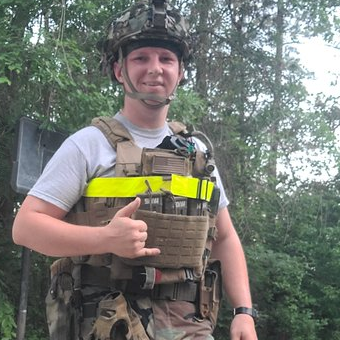
Last year I purchased the Vakarian load bearing system from Rebel’s Raiders and wrote an initial review after running it for a week at my Jäger Course. I have now owned it for a year, and have run it through several multi-day draining iterations, shooting competitions, airsoft matches, and dozens of ruck runs and workouts. Thus, I believe that an updated review is in order.
TLDR: the Vakarian has exceeded my expectations and I recommend it for civilian tactical applications.
Context: My Requirements for My Personal Kit
First, a refresher on my personal requirements for my tactical Load-Bearing Equipment (LBE):
- Capability to flex between armored and un-armored configurations to accommodate a variety of mission types and threat levels
- Carry at least the following: 5 AR magazines (plus what’s on my belt and assault pack), a radio, IFAK, 1 smoke grenade, and an admin pouch
- Comfortably wear with a backpack and while riding in a vehicle
- Rugged enough to withstand hard field use (crawling across rocks, dragging through dirt, etc.)
I will organize this review by how the Vakarian fulfills all of these requirements, and how it exceeds them.
Flexible Kit for Flexible Mission Types
Gear setup in the military is easy: you have one job and you can hyper-focus your equipment around that role. As prepared civilians, we have to be prepared for a wide variety of threat levels for a variety of scenarios, so our gear needs to be flexible. Some scenarios warrant body armor and open carry of long guns, most need a low profile rig under a jacket with just some map tools, a radio, and a handgun or PDW. Between those two extremes is infinitely more scenarios where the fabled “METT-TC” determines your requirements. We don’t know what tomorrow holds, what calamity may befall us, from natural disaster to civil war. We must be ready to adapt and so must our equipment.
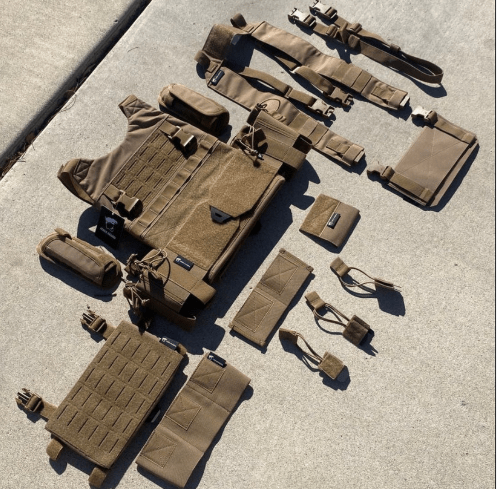
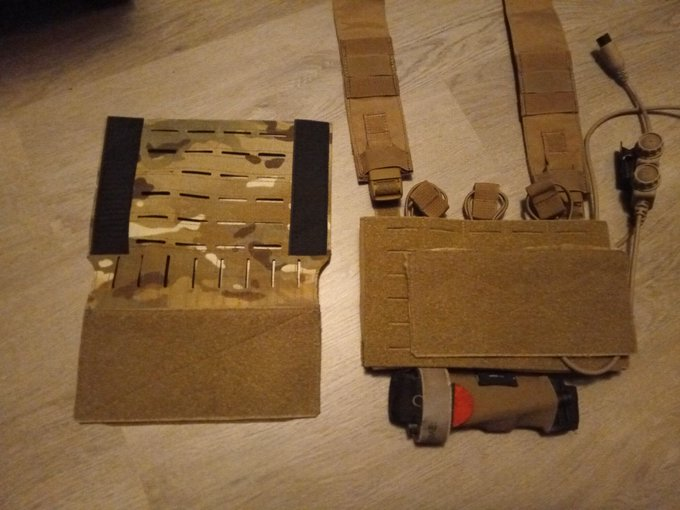
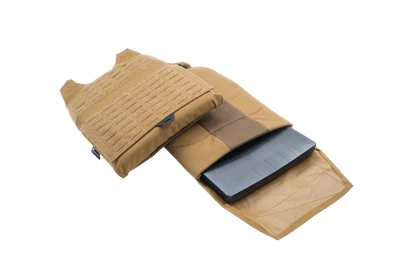
This is the greatest strength of the Vakarian. It is an all-in-one piece of kit that can adapt to almost any mission requirements. Once you set it up as a plate carrier, it can flex between the following configurations within 5 minutes by simply undoing some buckles and velcro:
- Tactical plate carrier
- Slick plate carrier
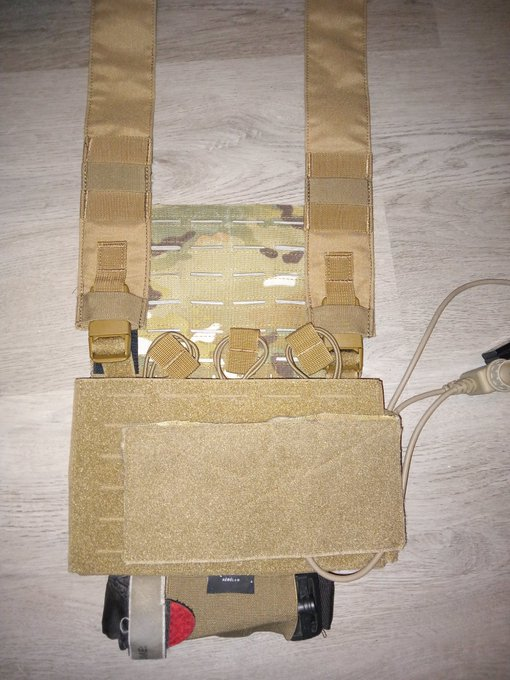
- Chest rig (over or under clothing)
- Micro chest rig
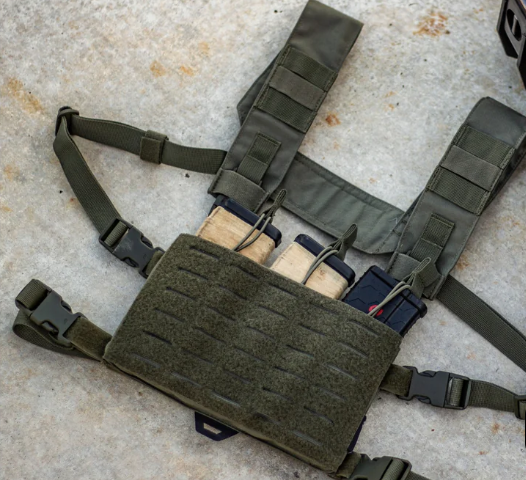
For $240, you get all of this. No buying the “platform” and then obsessing over which additional components you need to get whatever setup you want, just buy one thing and be done with it. This many configurations at this price point is simply un-beatable in the current market. There are also no proprietary buckles or connections, so you can absolutely upgrade (or repair/replace) individual components if you get that bug.
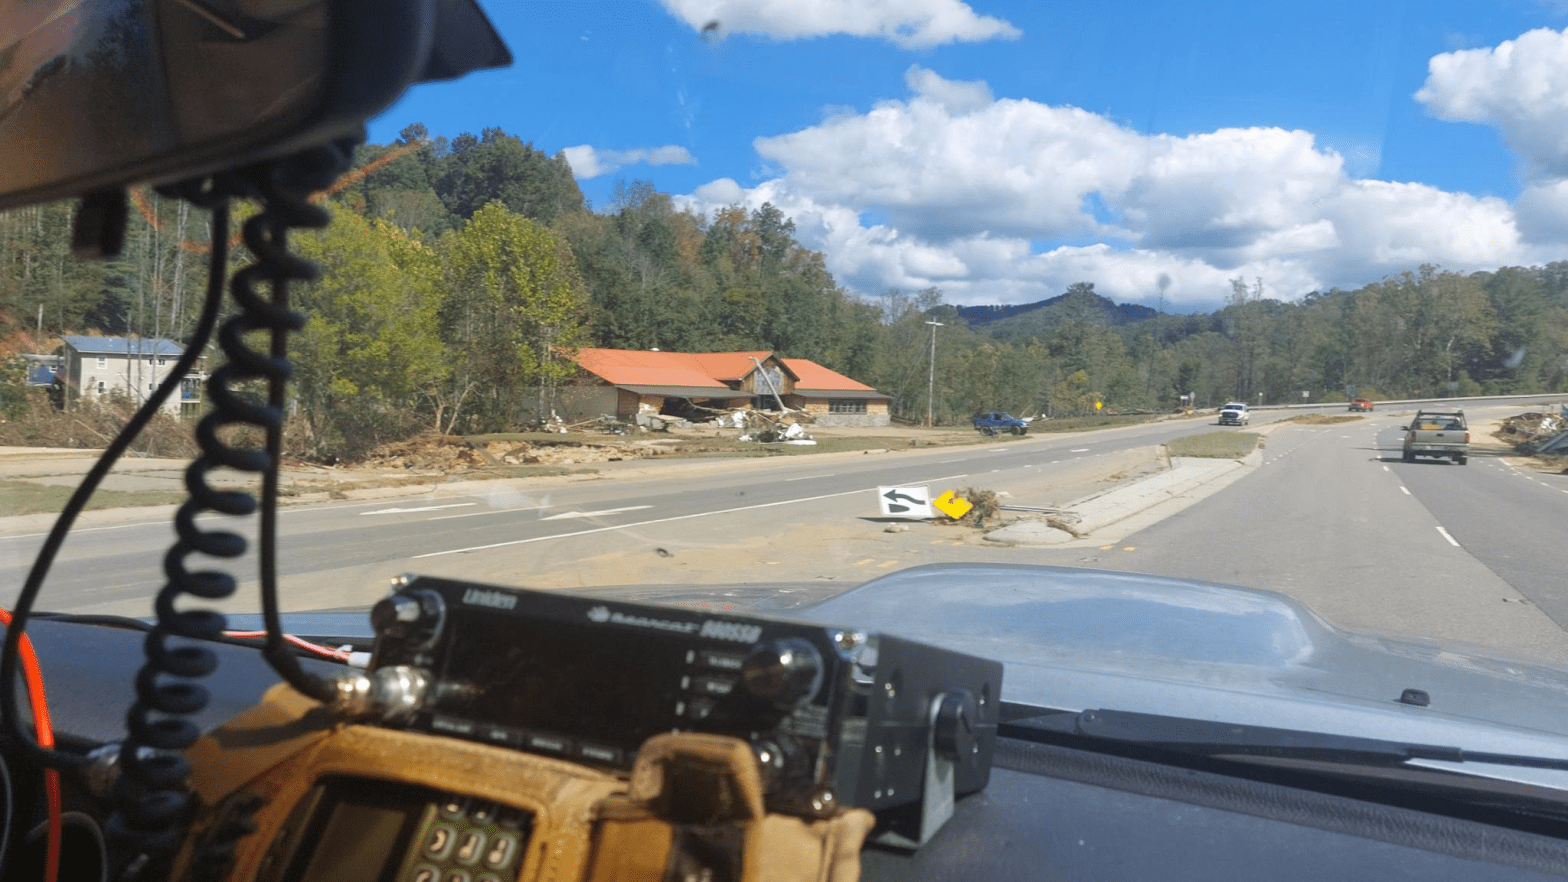
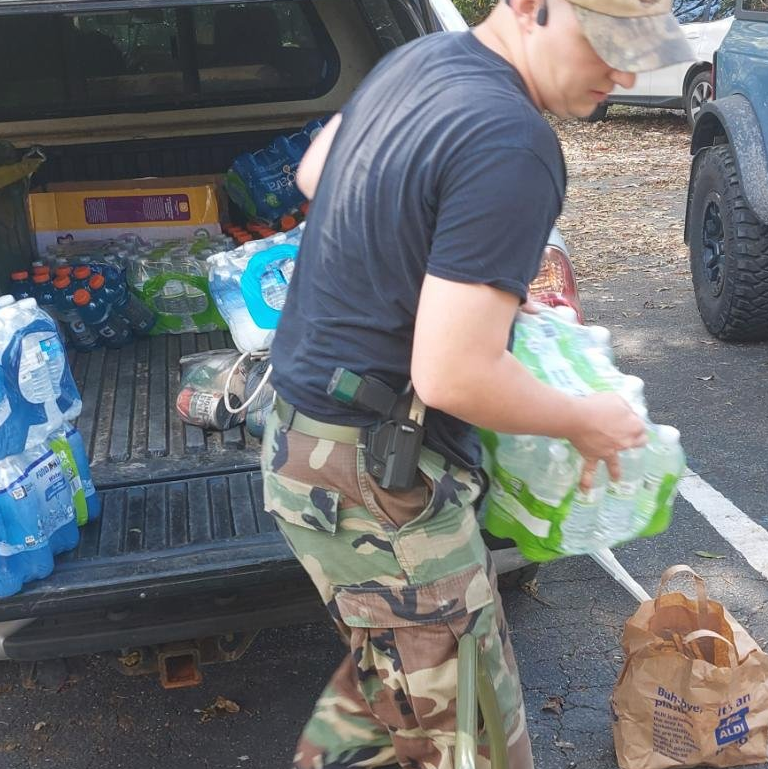
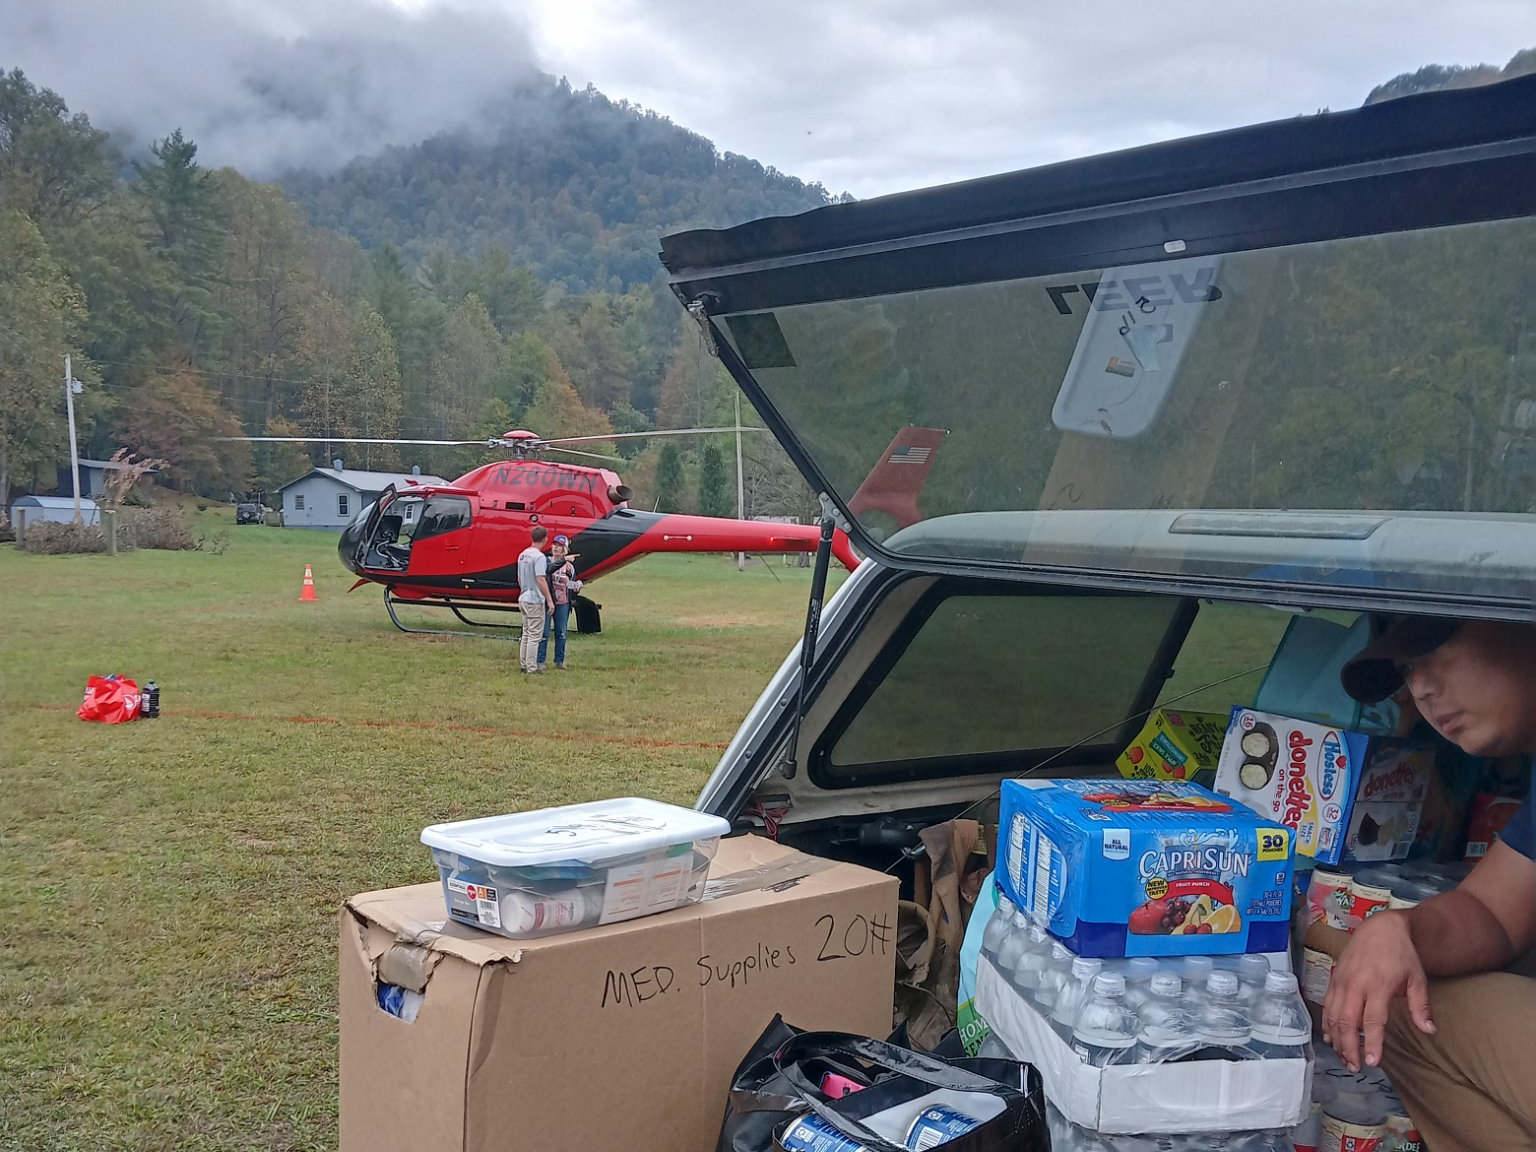
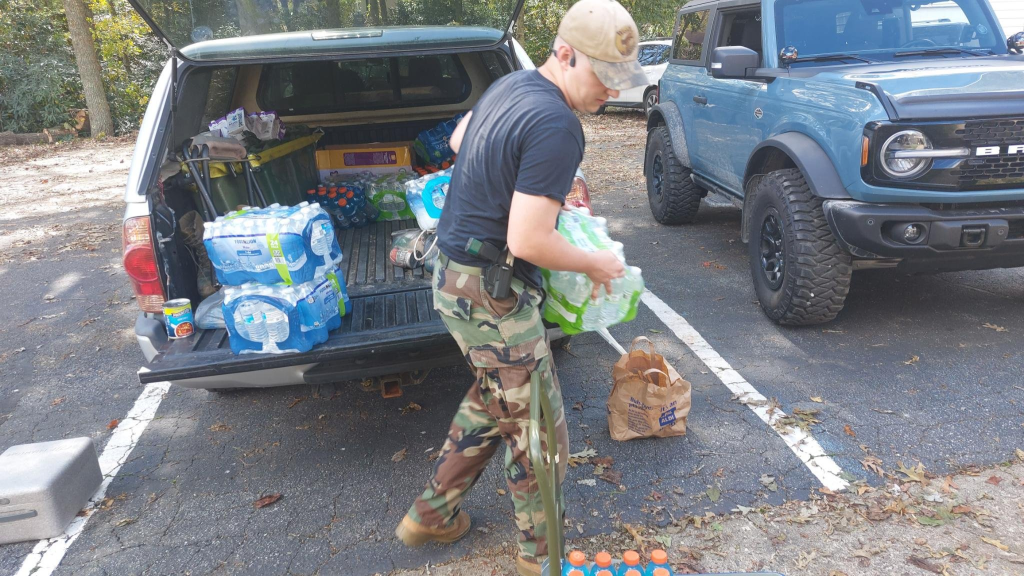
This is a big deal. I can bring all of these configurations with me into a disaster area while I’m working relief operations without grabbing 2 chest rigs and a plate carrier. This saves precious space when I need to have this flexibility and I’m working/living out of my truck for several days. And, when moving from covert chest rig to plate carrier, I don’t need to move gear between pouches, undo rows of MOLLE, or carry duplicates of every tool on my rig.
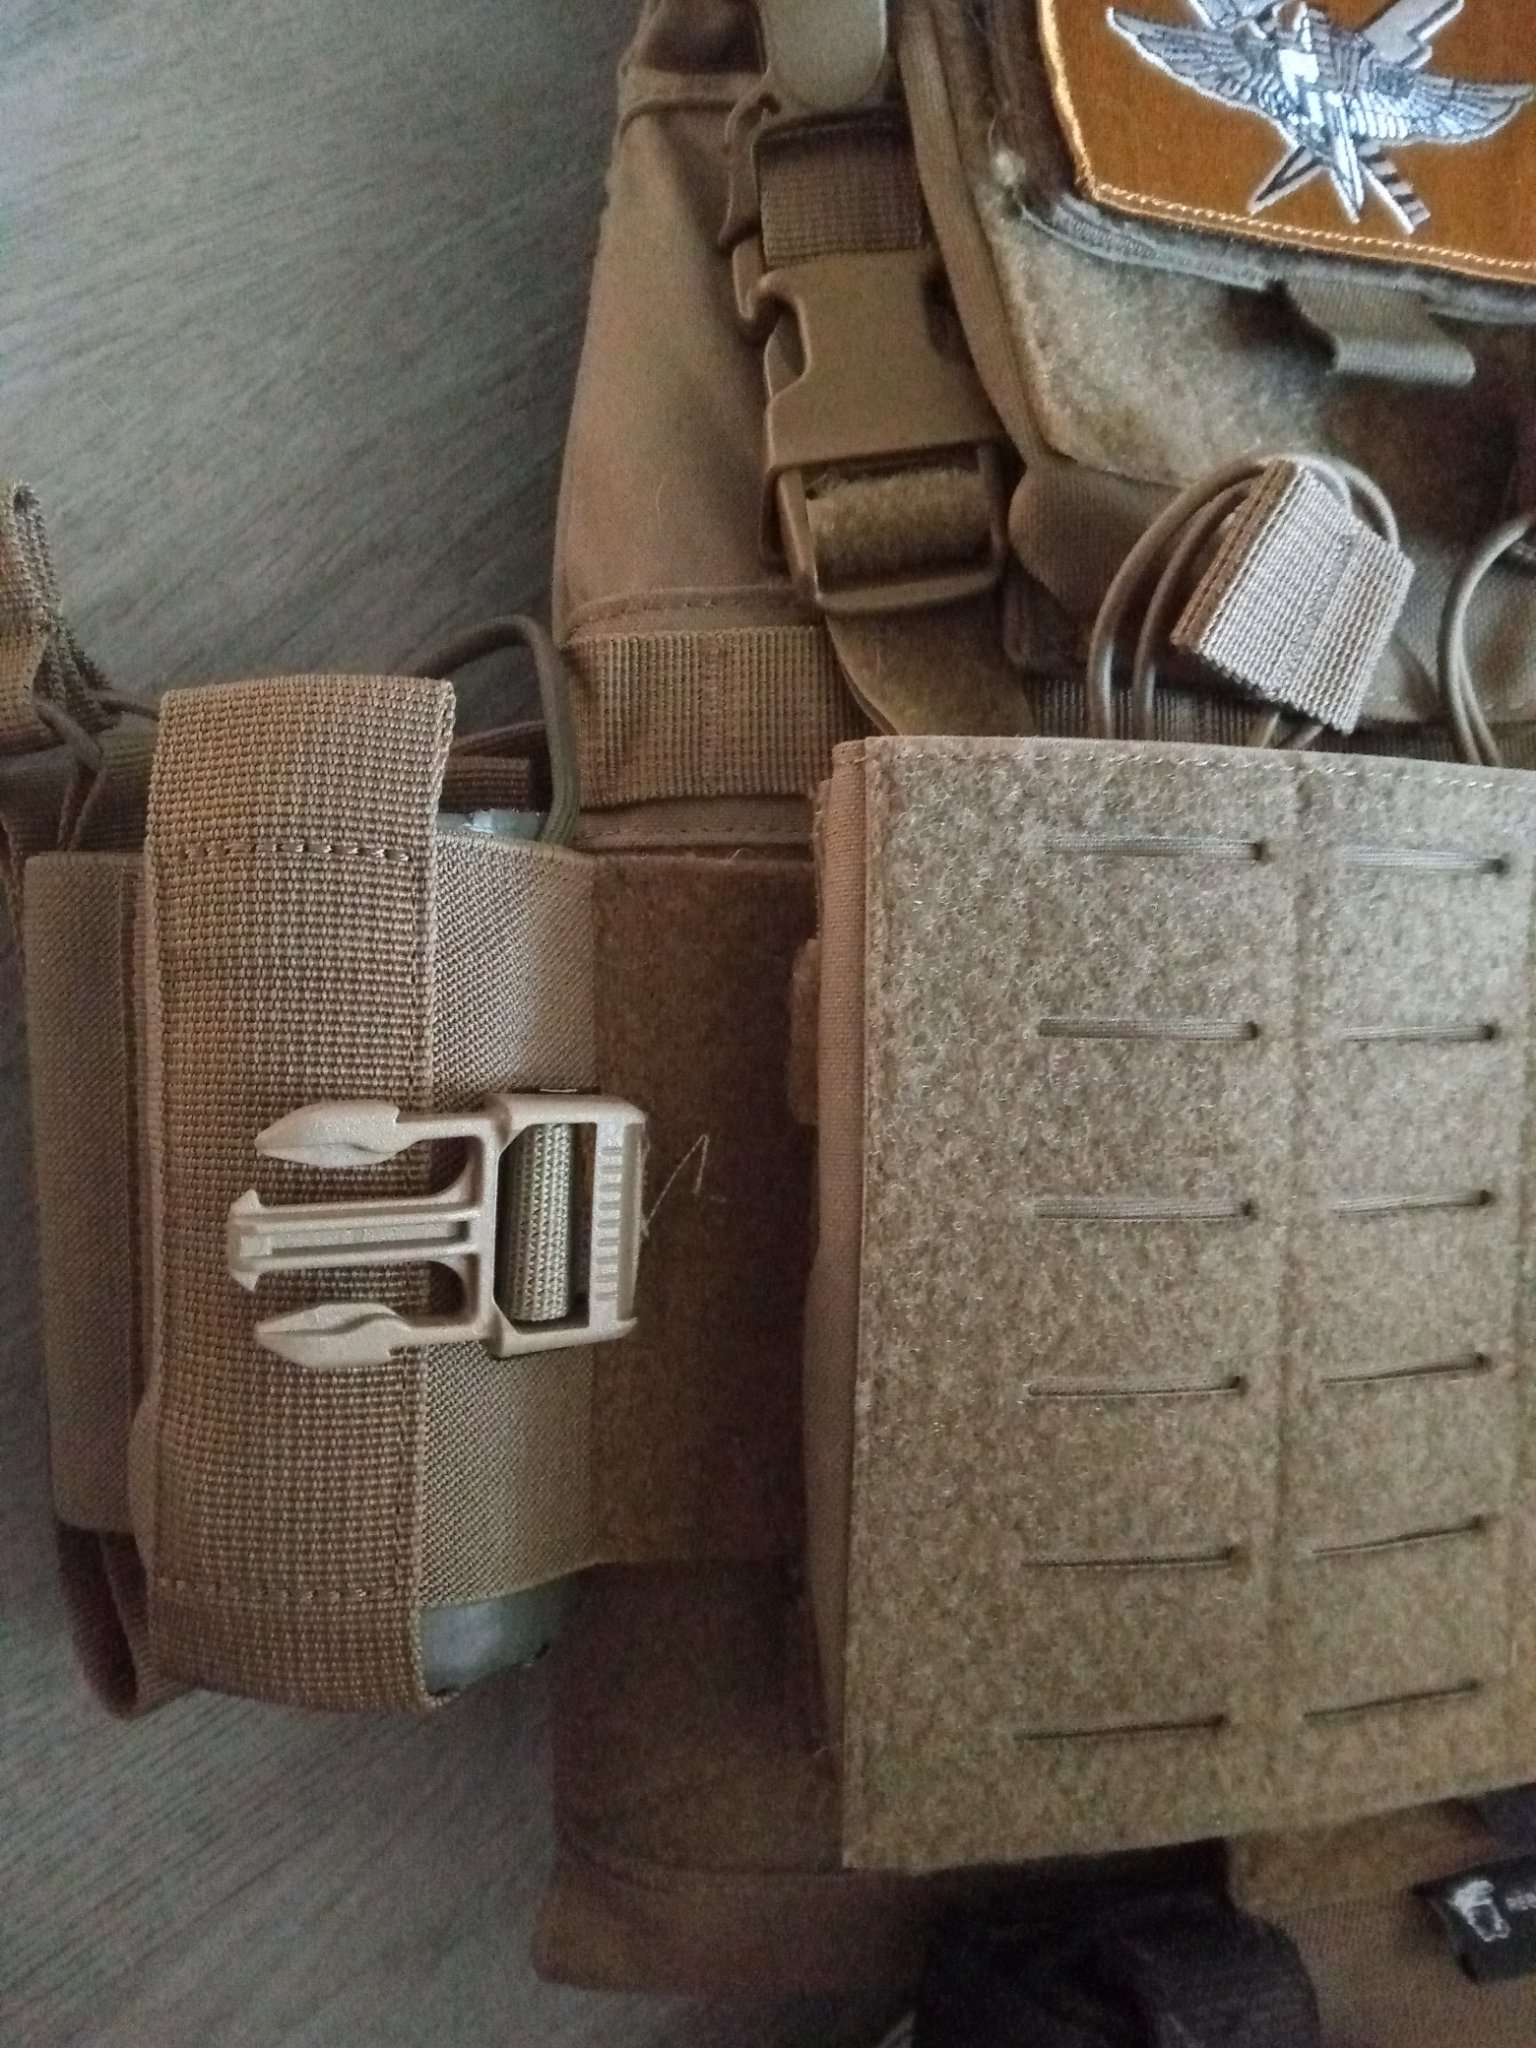
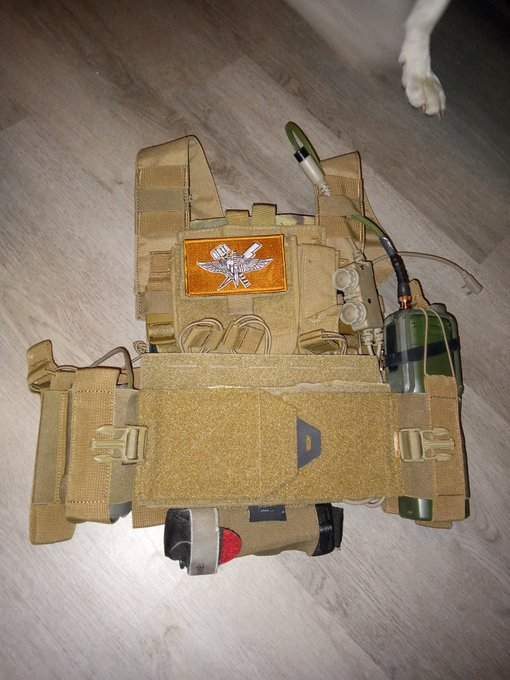
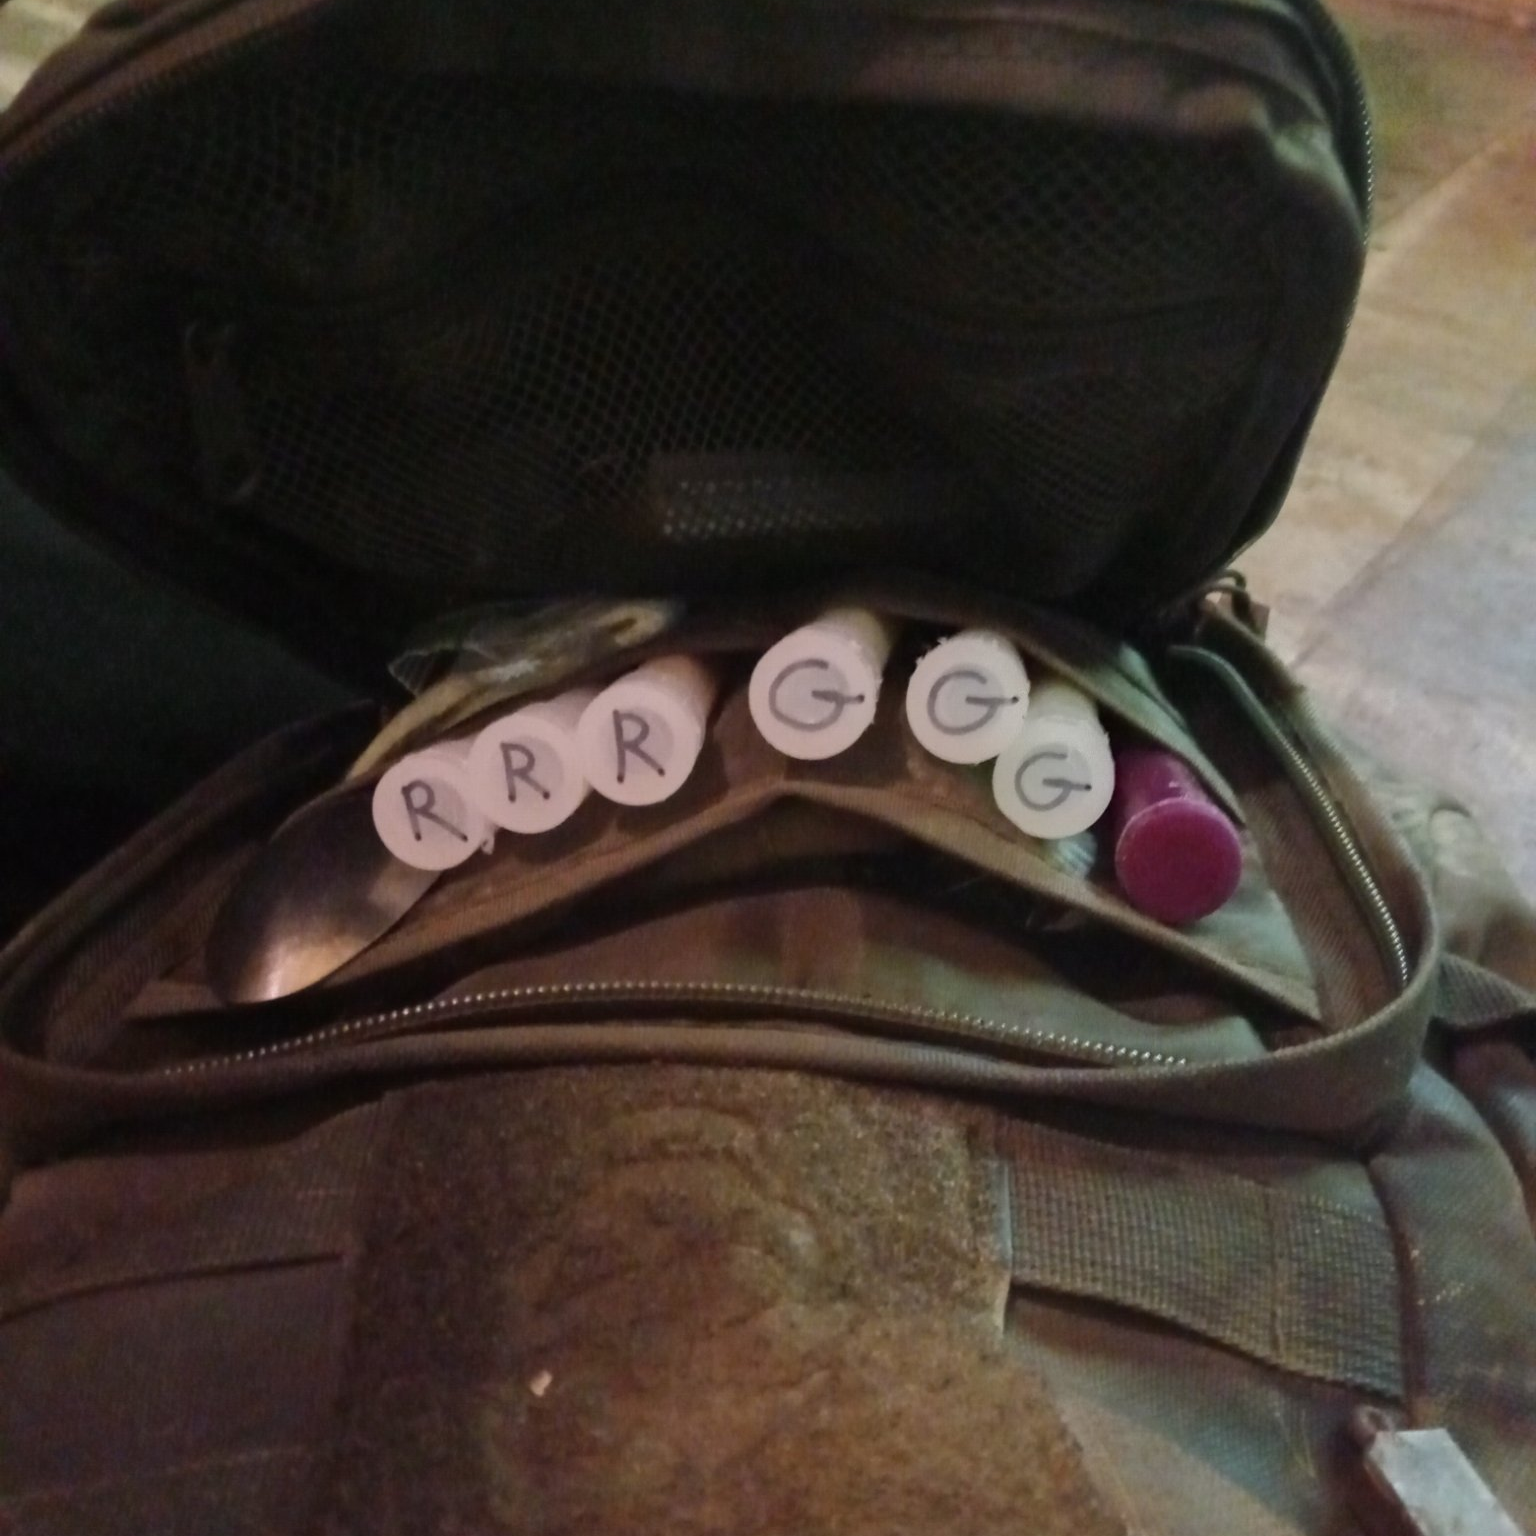
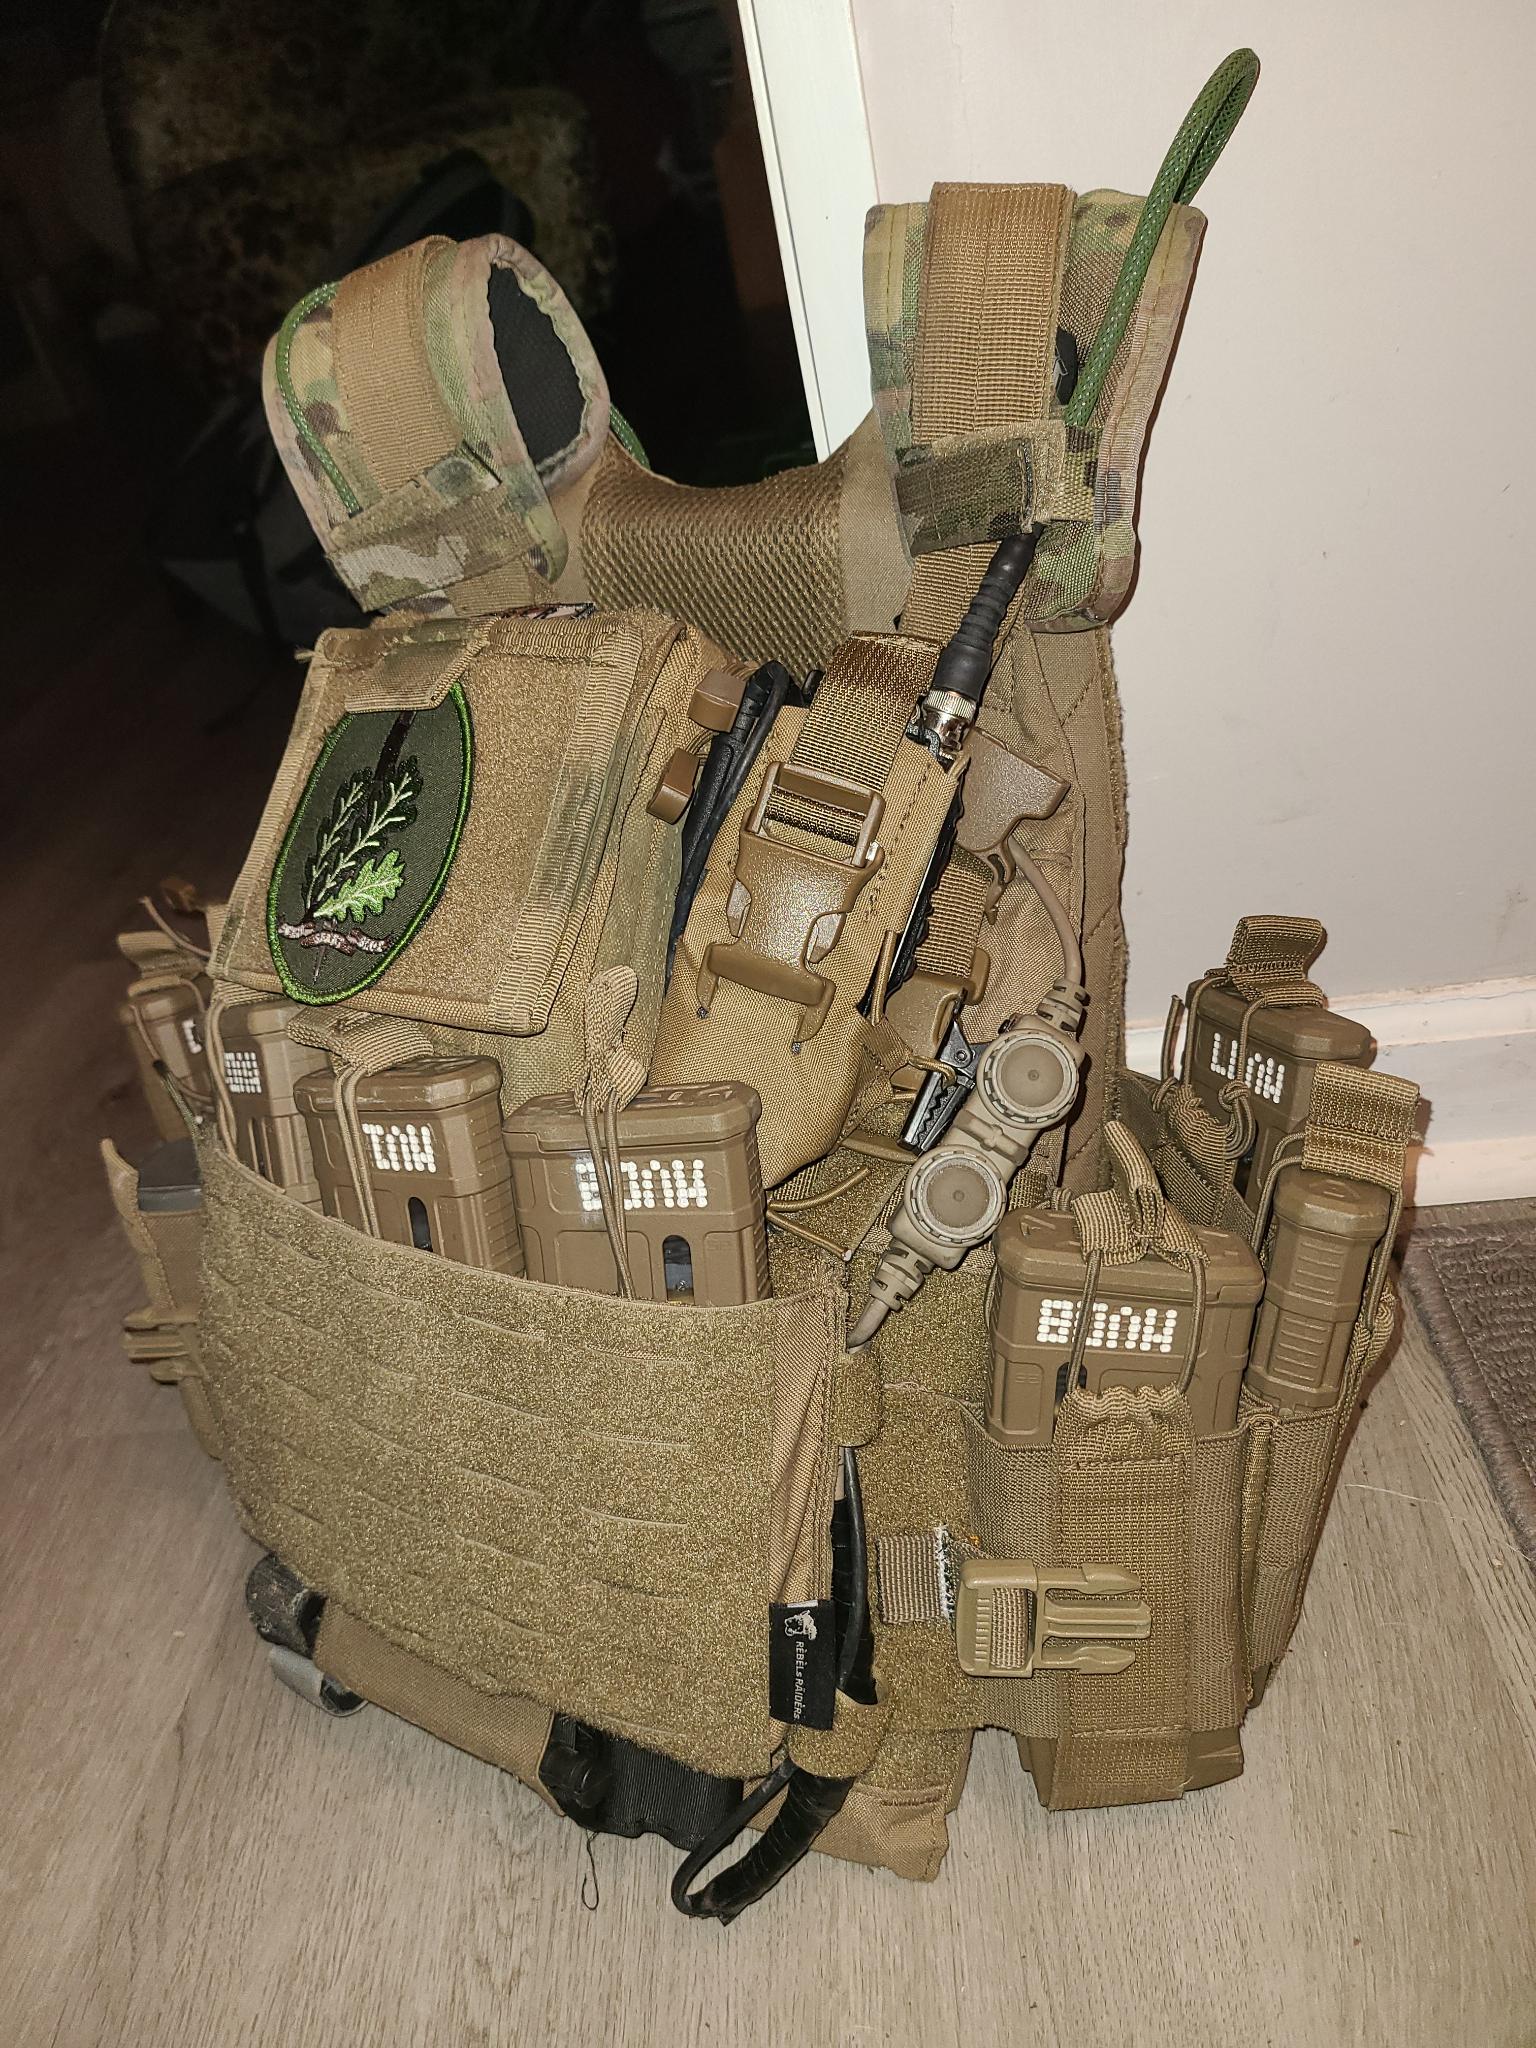
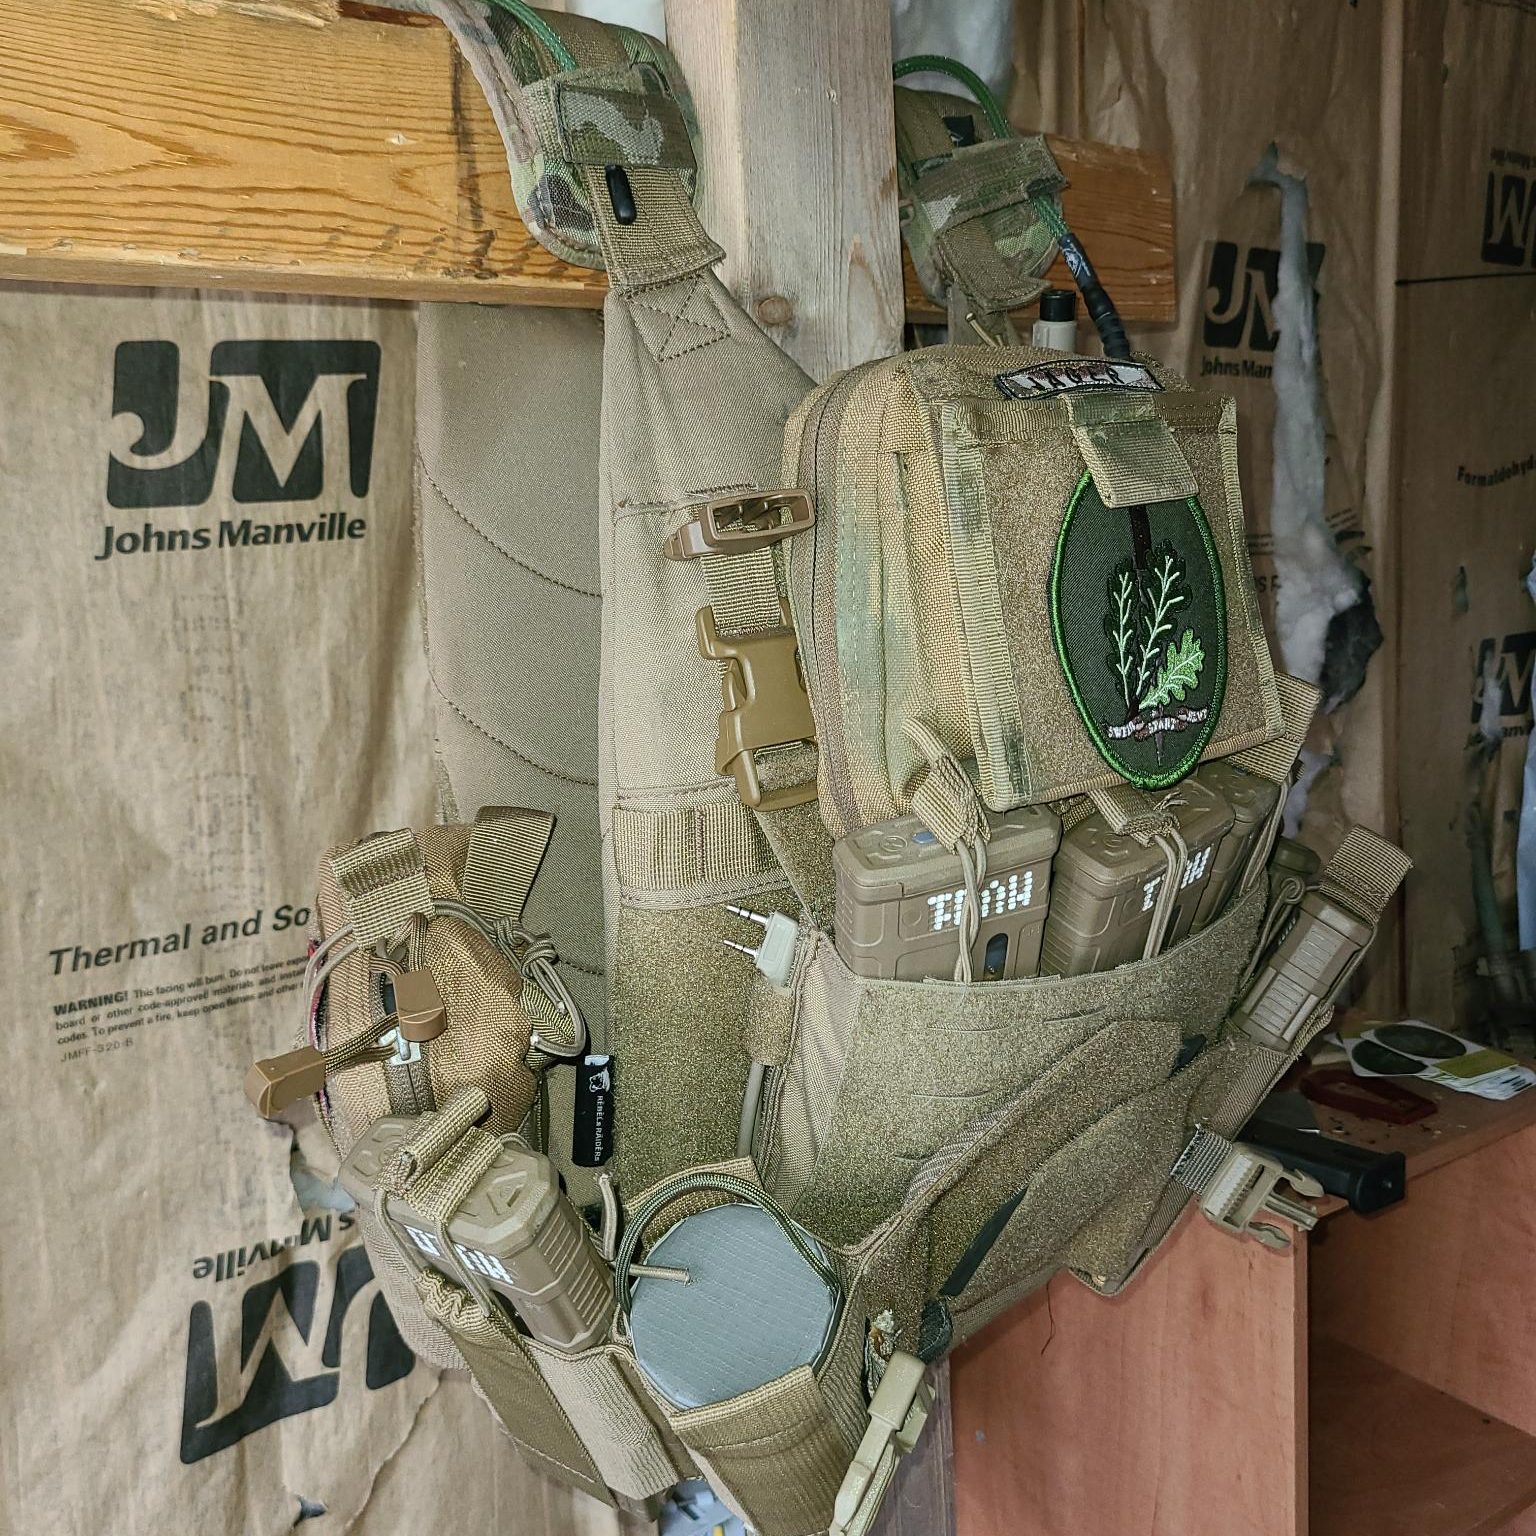
Load Capacity
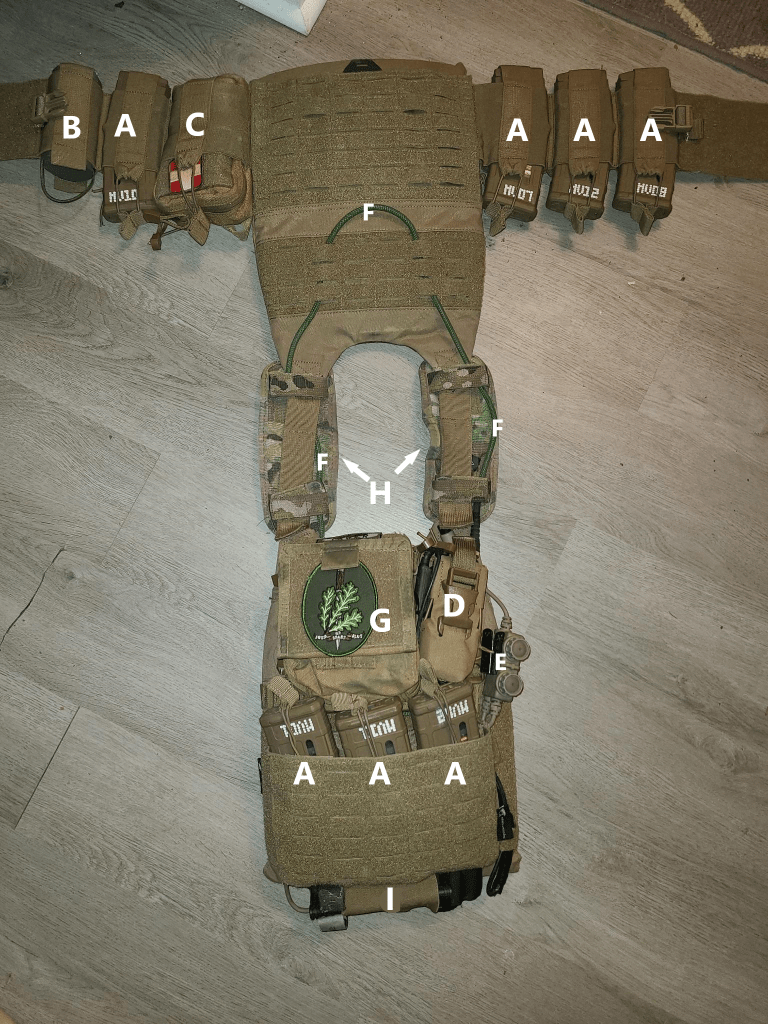
A: 7x Gen3 PMags
B: Field-prepped smoke grenade
C: IFAK
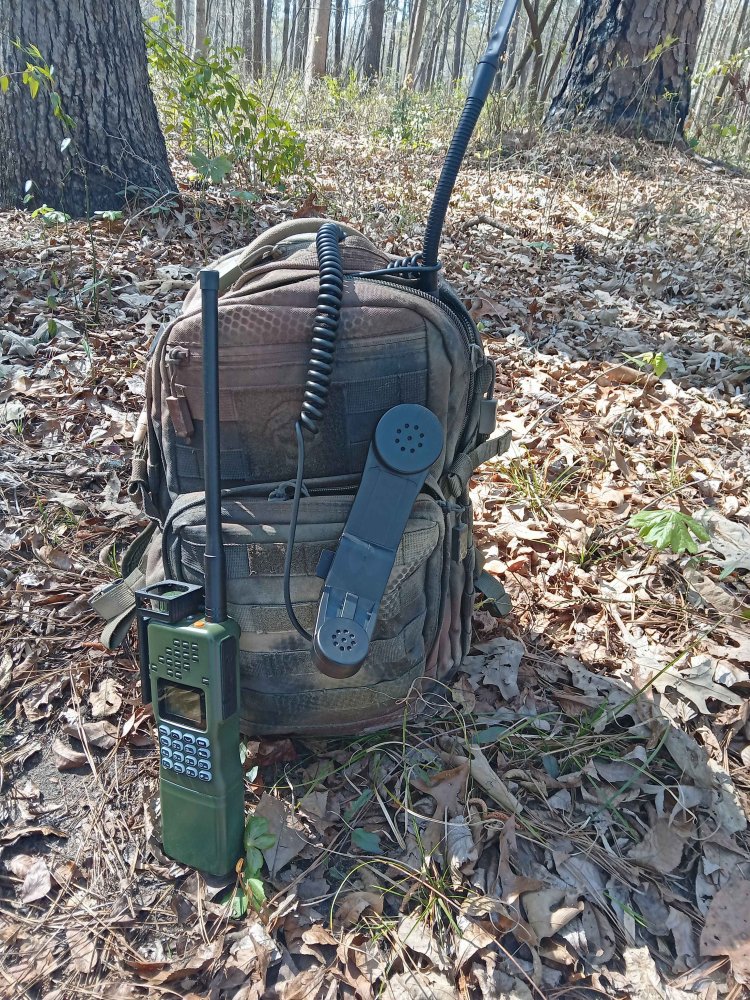
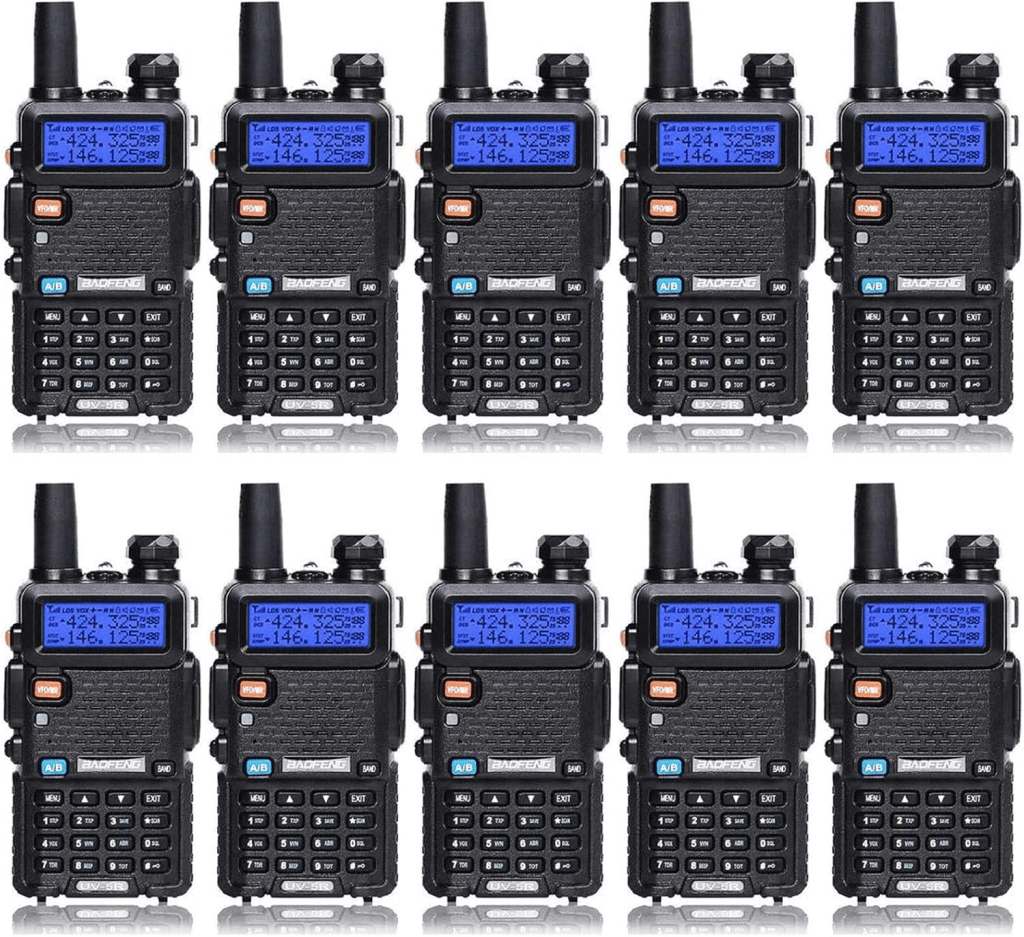
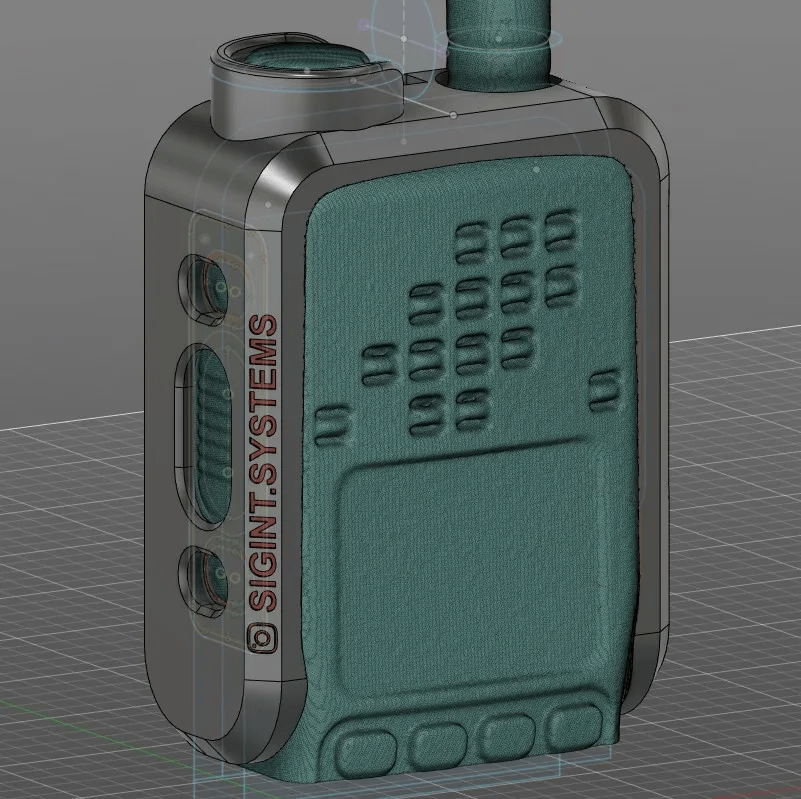
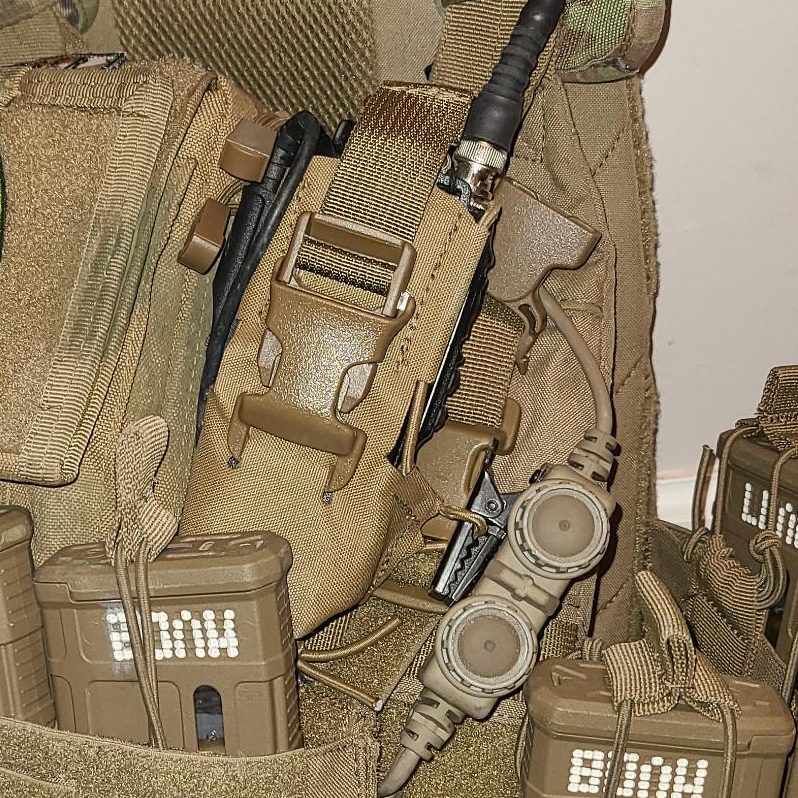
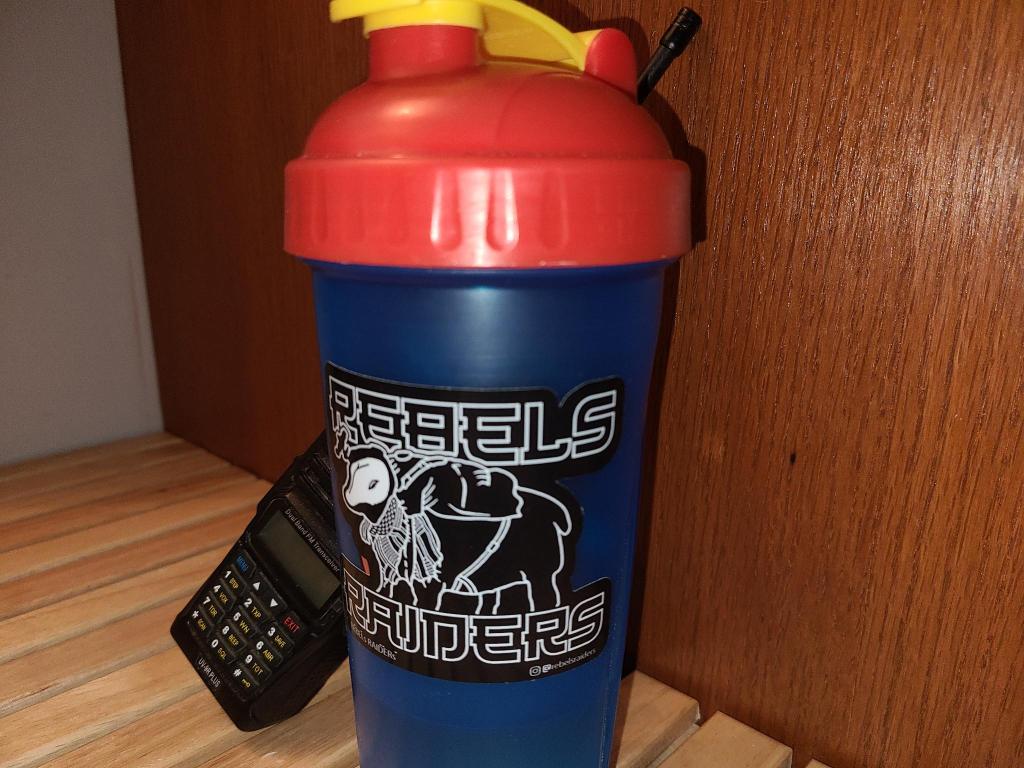
D: UV-9R radio in a Wendigo Works SPARKY pouch
E: modified dual comms PTT
F: wearable CAATtail antenna
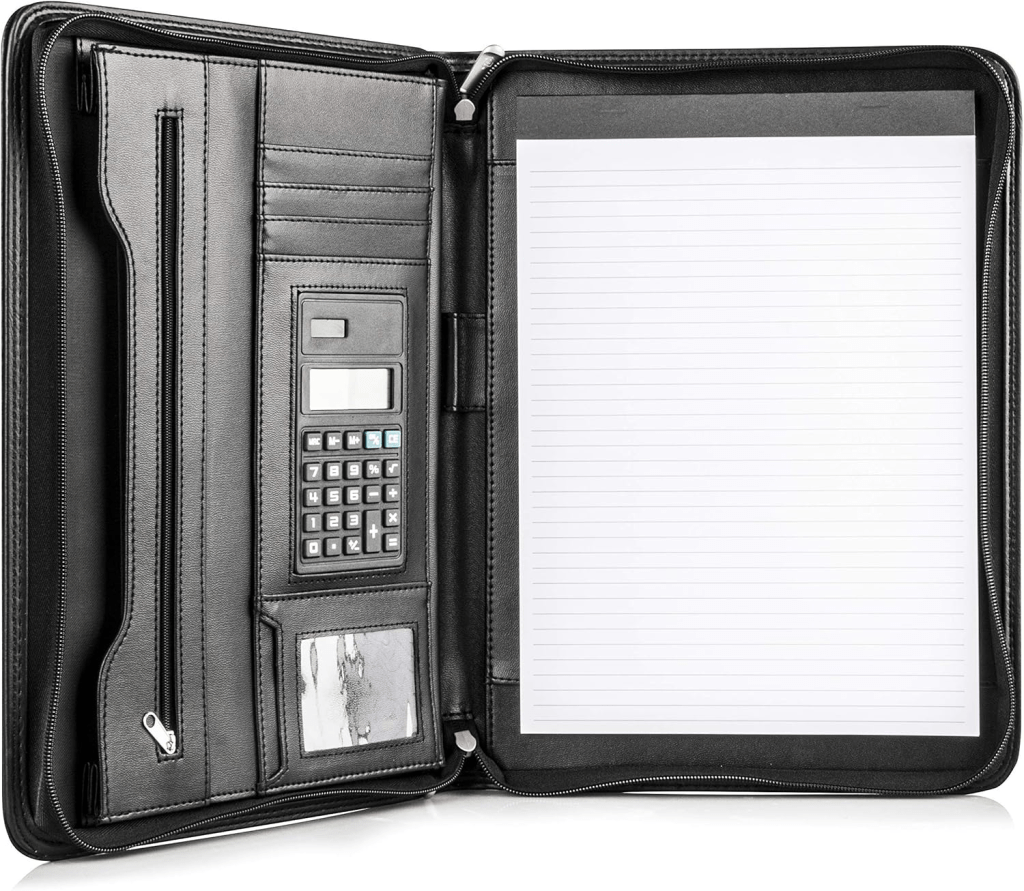
G: Condor Map Pouch
H: gel shoulder pads
I: CAT tourniquet
As you can see, the Vakarian comfortably holds my minimum requirements for equipment. The only catch is that I had to modify the H-harness by adding a MOLLE chest panel in order to hold my admin pouch in “Recce Rig” configuration.
Since my initial review, I tried several different ways to set up my Vakarian. Some in ways that the manufacturer never intended it to be used.
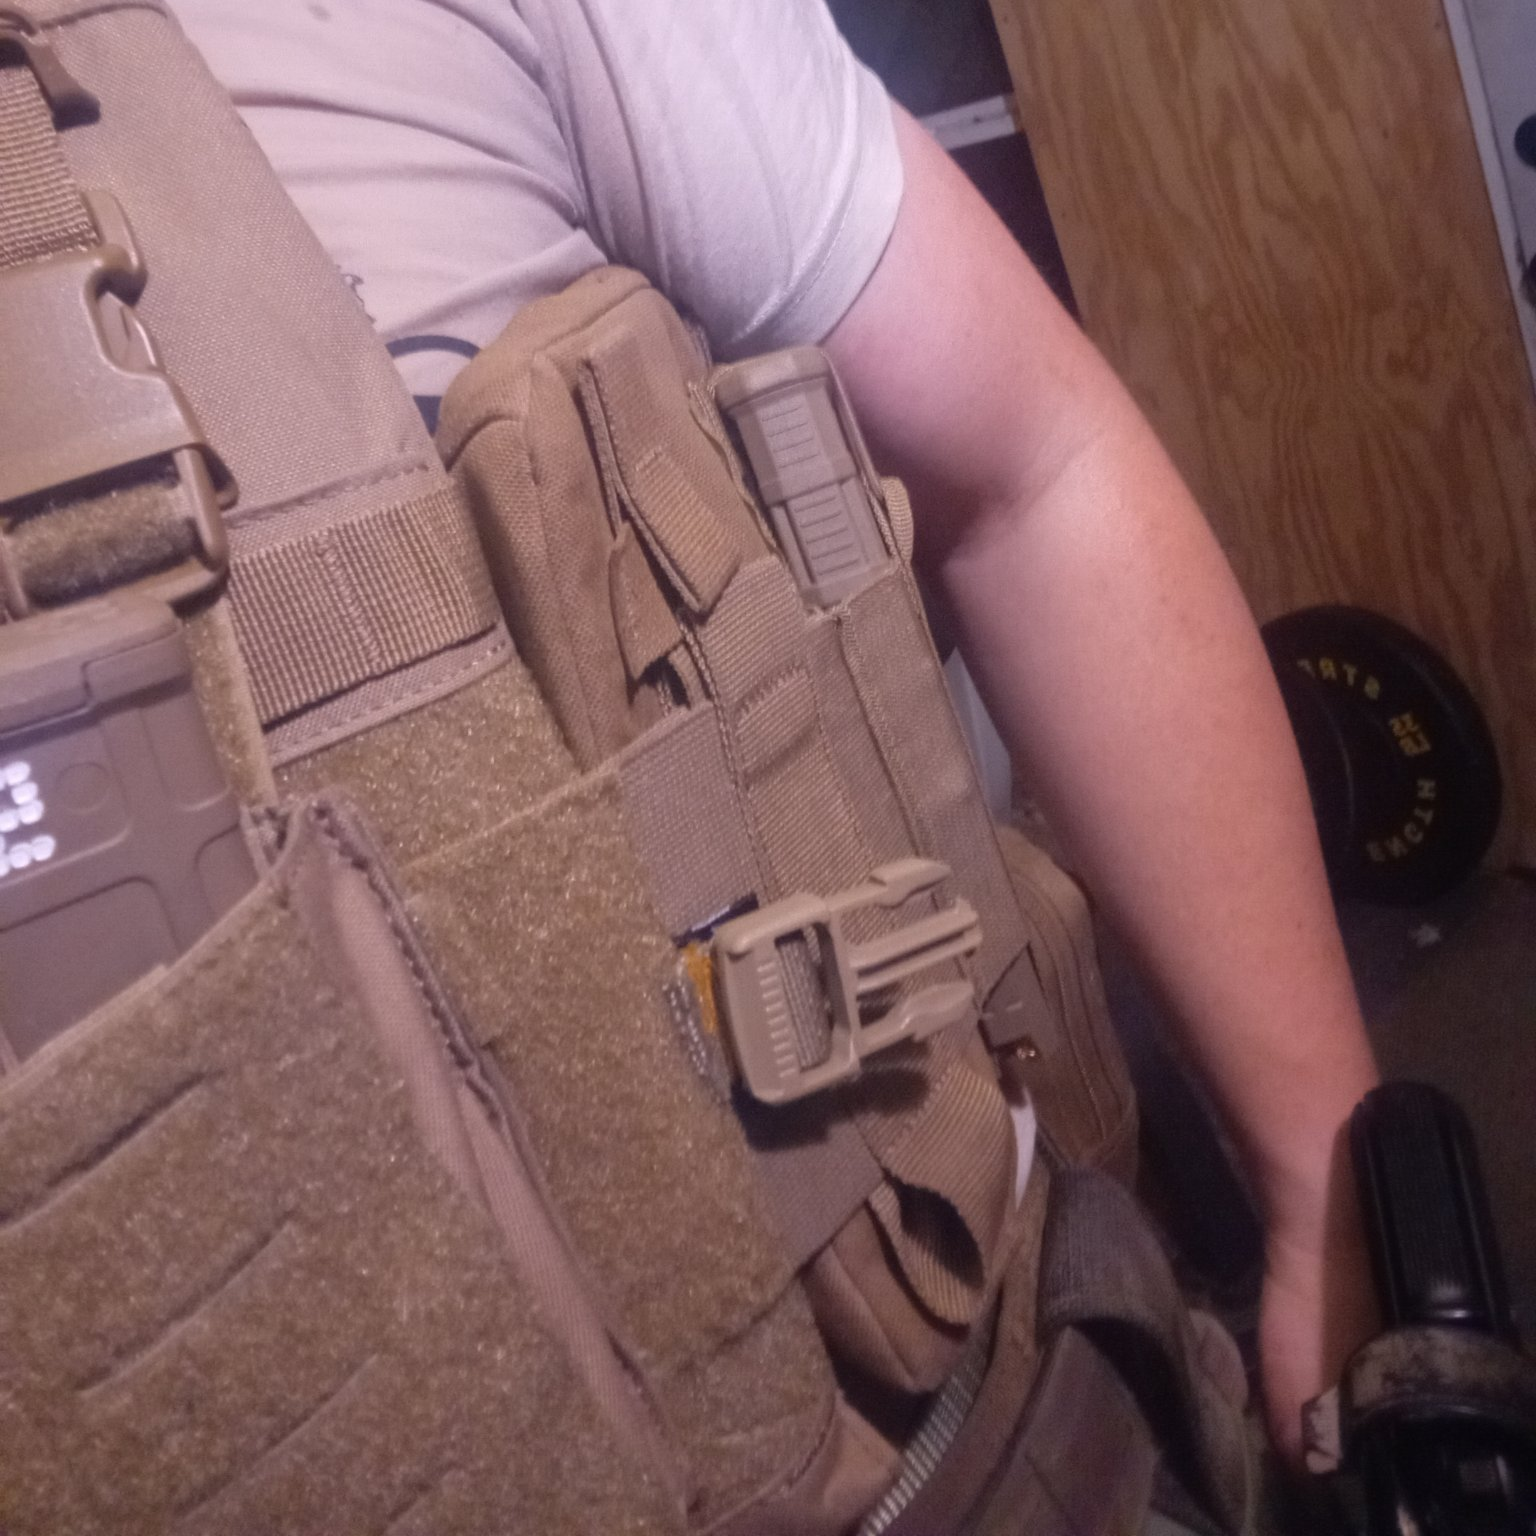
- I experimented with adding USMC surplus side-SAPI pouches to the cummerbund by threading the MOLLE straps through the cummerbund pouches. This worked surprisingly well, and held the pouches with their included soft armor securely at my sides. However, this stretched the cummerbund so tight that I had to sacrifice putting anything into the cummerbund pouches in order to account for the extra stretch from the side-SAPI pouches. After about a month, I decided that I wasn’t willing to sacrifice load carriage for side armor, so I removed them.
- My initial placement for my AR-152 radio (front left cummerbund pouch) proved to be sub-optimal. I use a PTT, headset, and a wearable CAAT-tail antenna with my radio, so having the radio on the cummerbund forced me to disconnect my antenna and PTT plug when doffing/donning the vest in plate carrier configuration (I did not have this issue in chest rig configuration, since I could undo buckles in the back). I also broke two SMA-BNC adapters during field exercises with the radio in this position, so I switched to a smaller UV-9R in a pouch on my chest. This has worked wonderfully so far on the plate carrier. It only works for me in chest rig configuration because of the chest panel I added myself last year.
For everyone else running a radio on the Vakarian, I recommend using one of the slots on the placard in order to keep it in the same place for every configuration. Alternatively, the cummerbund works just fine if you are not using an external PTT or headset, or if you have long enough cables to route them back along the cummerbund and up the back to the front through the shoulder straps (most PTT cables are too short for this).
- Moving the radio freed up a cummerbund slot for another AR magazine. This brings my total mags carried to 7, NOT including my belt, assault pack, or the mag in my rifle. This is plenty for most civilian operations, enough to make me reconsider wearing a war belt at all.
- Replaced the shoulder pads with wider, gel pads. This is to ensure that my (not padded) backpack straps sit on the wide gel pads and don’t dig into my shoulders, which they had been doing on some rucks. A problem caused by my modifications, not by the Vakarian itself.
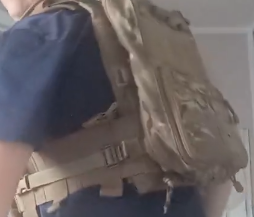
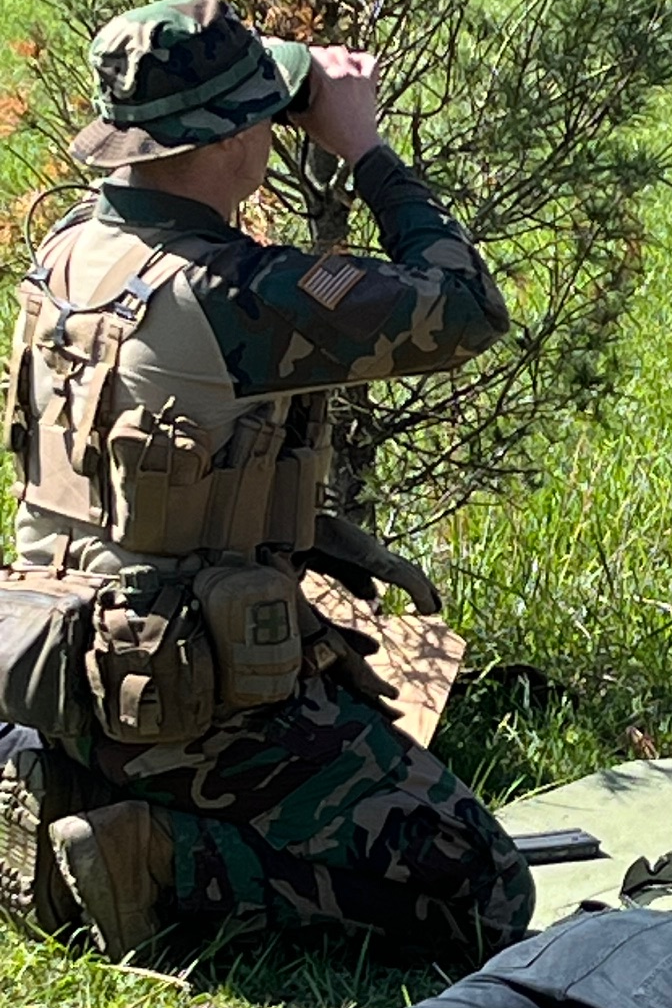
Comfort With Backpack and While Mounted
Having done a ruck, on average, every other week over the last year, I can safely say that the Vakarian is no less comfortable with a backpack. As a chest rig, you easily forget you’re wearing kit and a ruck fits seamlessly around/over it. As a plate carrier, it has the same fit issues as other PCs, but properly adjusting the straps of my backpack mitigates it to an acceptable level.
I practice operating in vehicles often, with different levels of kit. Again, no issues with the Vakarian while training in this way. As with any PC, avoid mounting bulky equipment on the back panel to avoid discomfort while sitting in a vehicle.
1-Year Durability Report
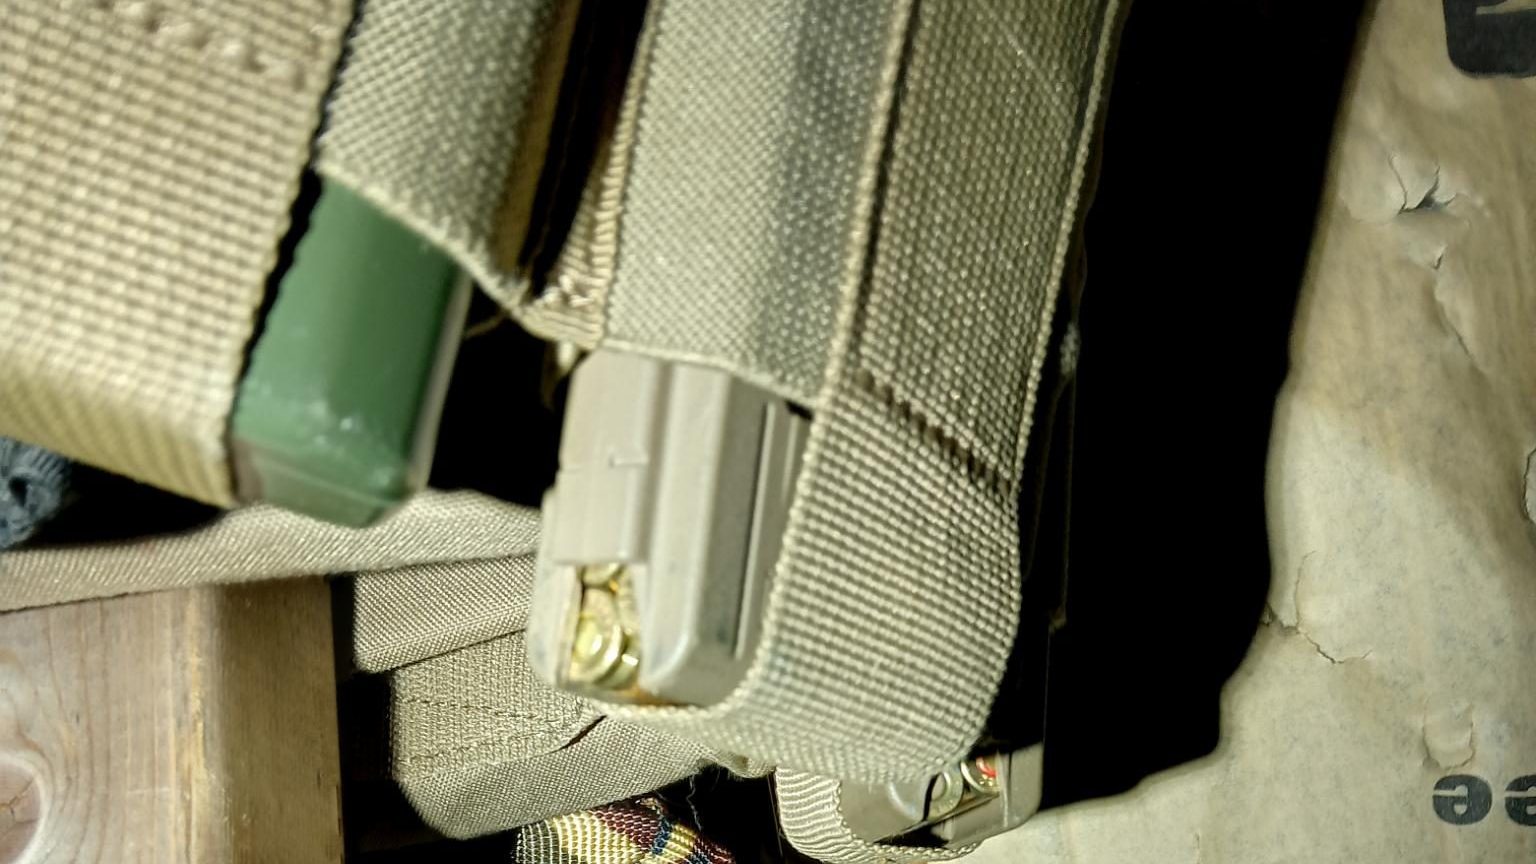
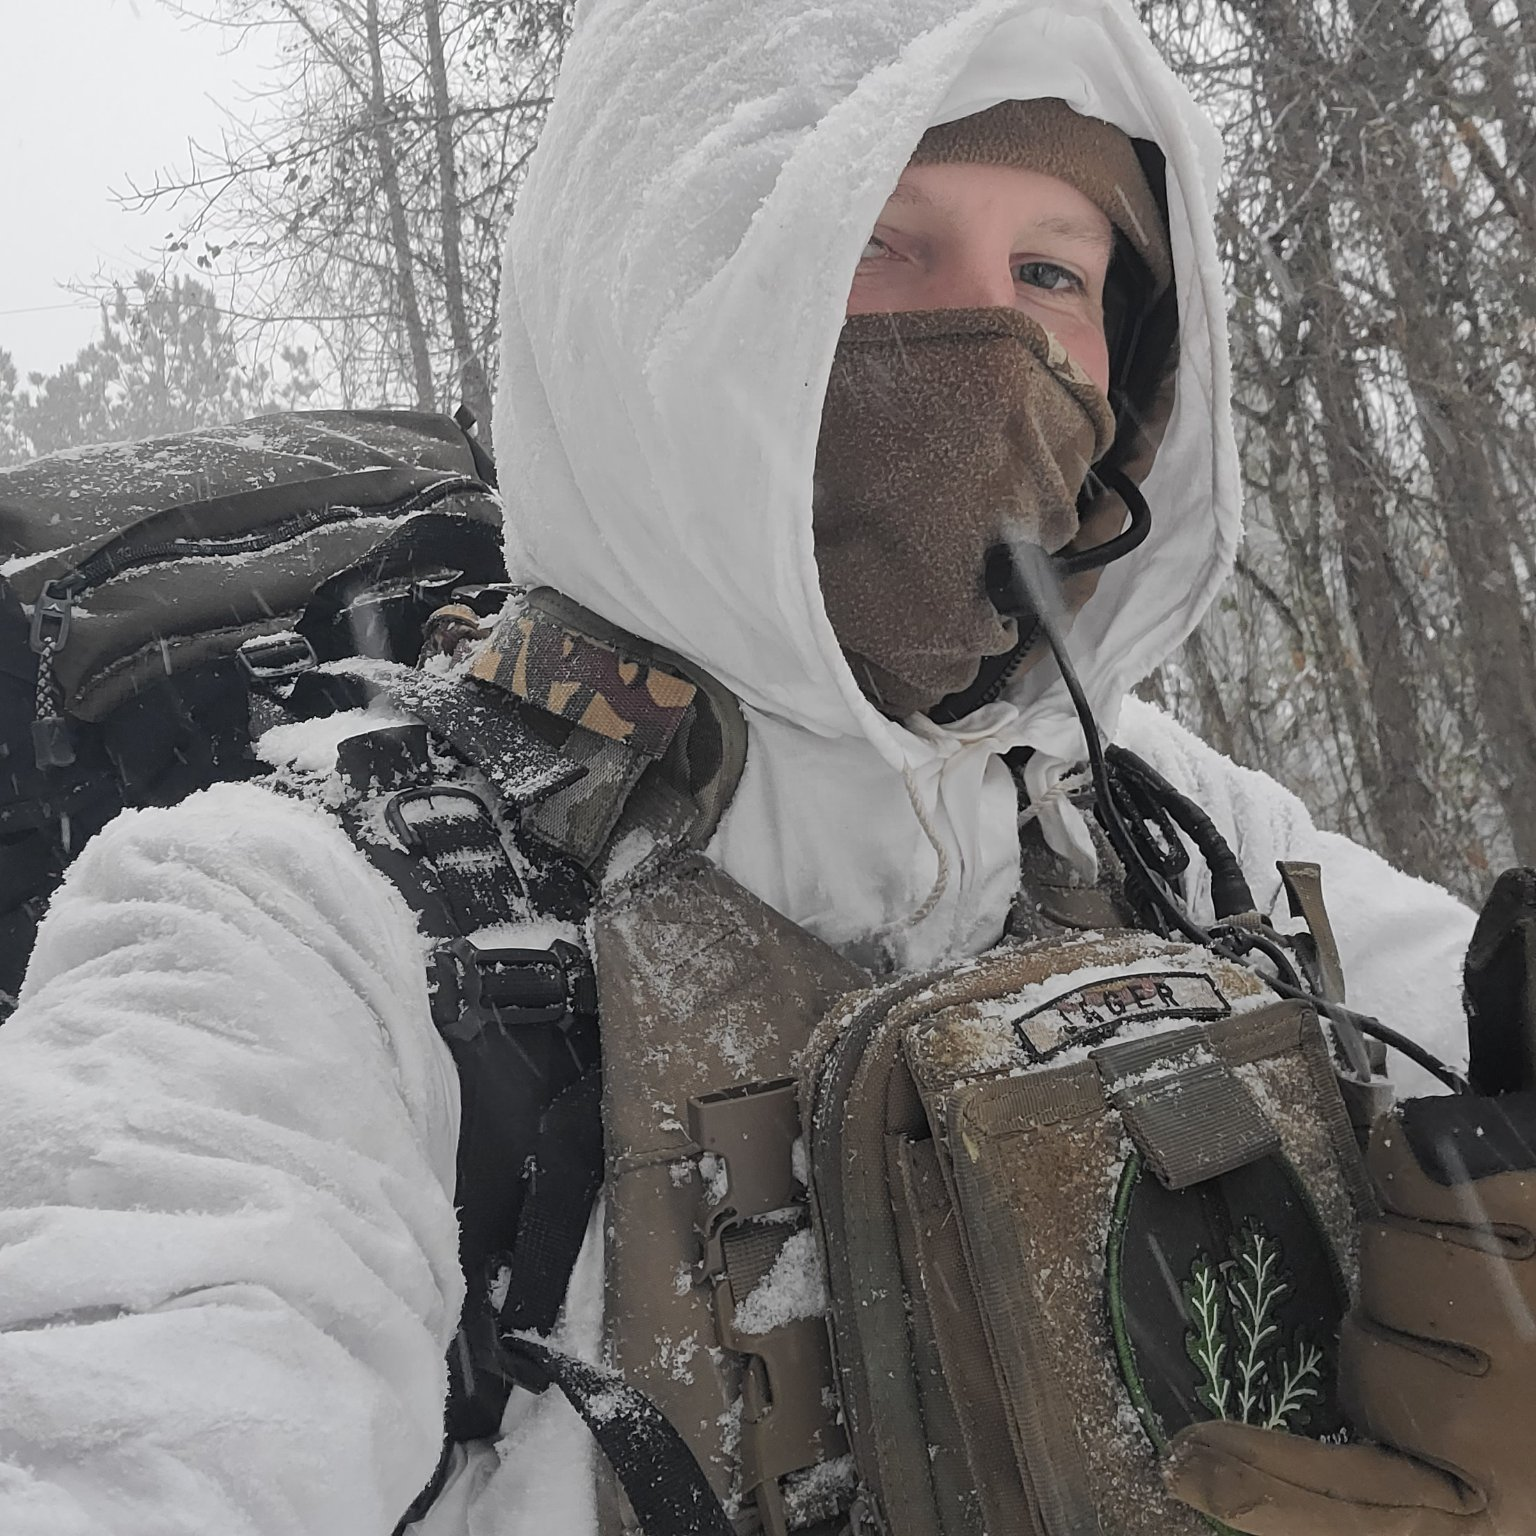
In my initial review, I expressed concern that the elastic cummerbund would break down over time and become useless like so many other elastic items that I have been issued in the past. So far, this has not happened, and I have put my Vakarian through more abuse in the last year than most civilians will. It has been worn in mud, in rain, in snow, spent over 20 days in the field during training exercises, and over 60 miles of rucking/running PT events. Plus, I hang it up on a kit tree when I’m not using it, where the loaded magazines in the cummerbund apply constant tension with their weight. I’ve been trying to make it stretch over time, but have not yet succeeded. I have not noticed any stretch damage, nor a reduction in magazine retention.
The rest of the vest is also holding up fine. No tears, fraying straps, or popped seams. Overall, the Vakarian appears to be solidly built. I’m sure that, like everything, it will wear eventually. But for now it’s holding up to my abuse.
Plate Compatibility
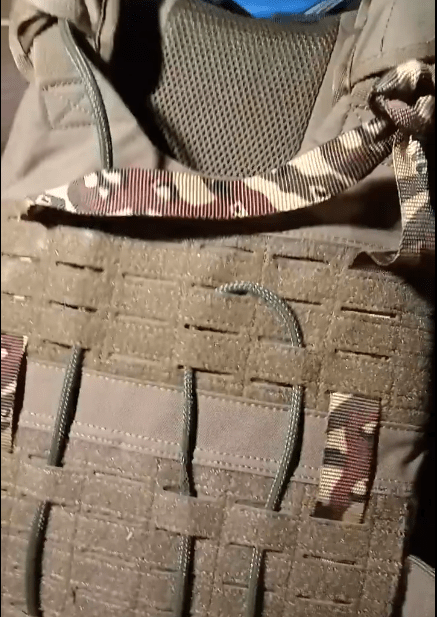
I use Large ESAPI plates, which are bigger than what is recommended for the Vakarian. They do fit, but there is a thin strip of hook-side velcro exposed at the bottom of the plate bags facing my body. This has so far destroyed two of my t-shirts and one combat shirt by tearing holes over my stomach.

This is my fault, not the vest’s. The website warns that velcro exposure will occur if you use this size of plates. If you have Medium SAPI plates or the 10×12 plates commonly found on the civilian market, you will not have this issue. I will resolve this by cutting a thin strip of loop-side velcro to cover the exposed hook-velcro.
Bonus Features and Miscellaneous Discoveries
Over the past year I’ve discovered many small things about the Vakarian. They are listed below:
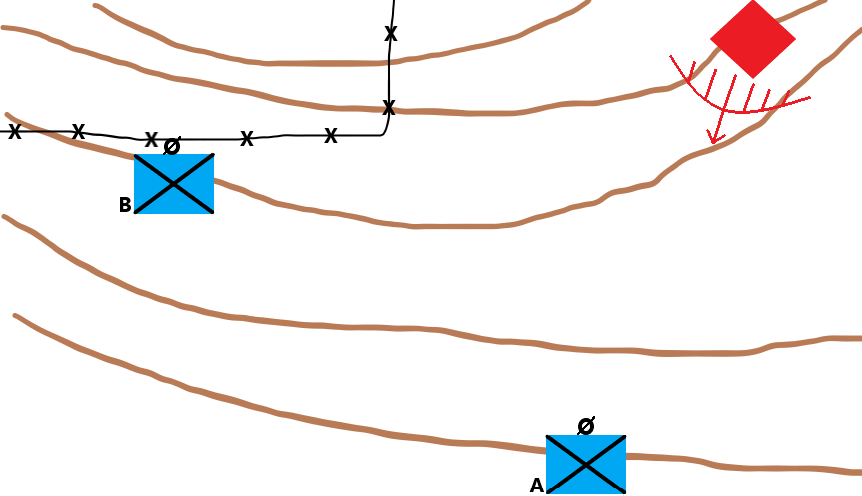
- The velcro front and back design on the cummerbund is very convenient when removing gear from a casualty. If he’s on his stomach you can pull up the velcro flap on the back to remove the cummerbund from behind, which makes it easier to roll the casualty onto his back or a stretcher.
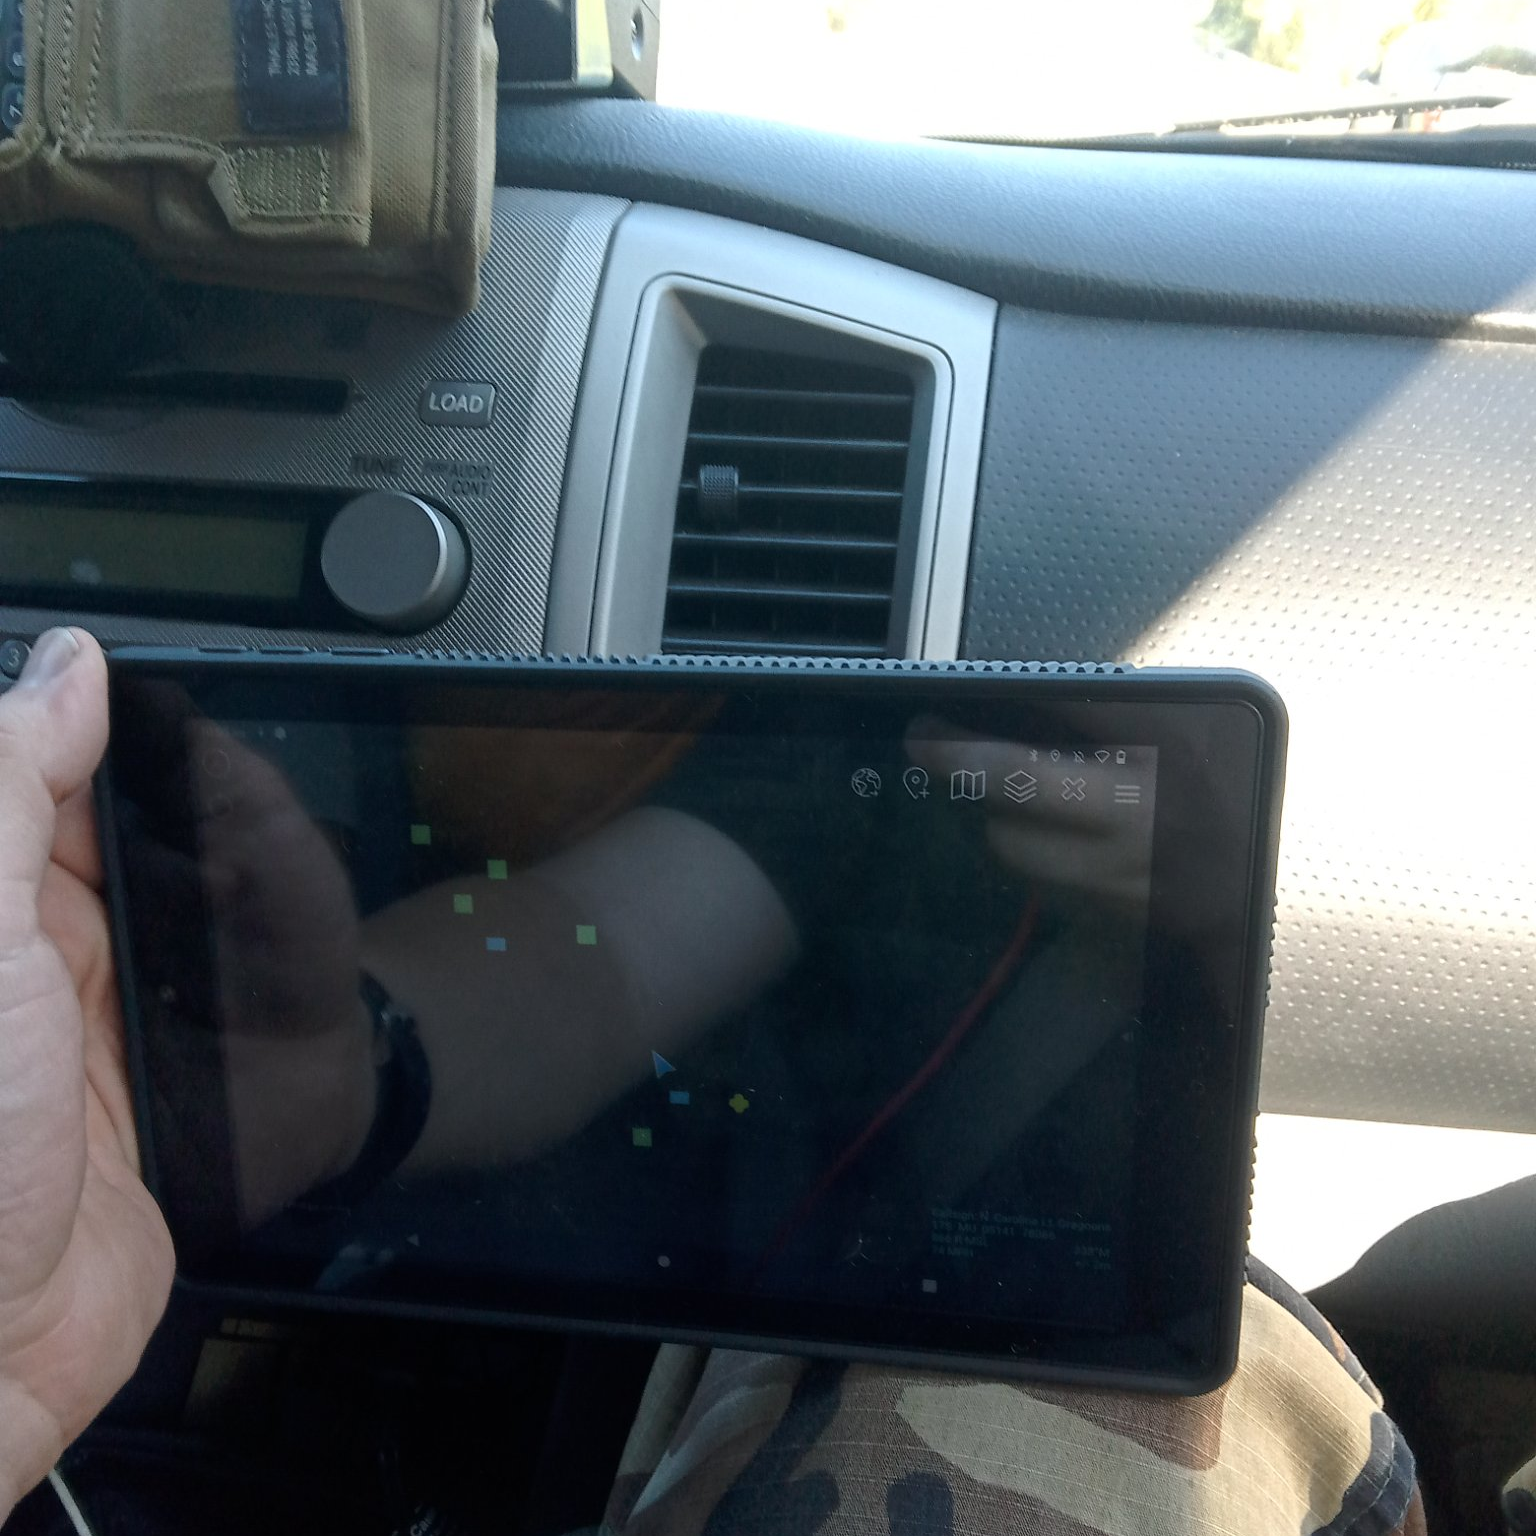
- If you have a radio in the elastic cummerbund, you can view the screen without pulling the radio out all the way. The elastic allows you to pull the radio away from your body just enough to view the screen and check your radio settings/frequency quickly and without risk of dropping it.
- Many folks are asking Rebel to add a drag handle to the Vakarian. After some CASEVAC training with my crew using a drag strap that I added myself, I can tell you that this would not be useful. Dragging casualties by the plate carrier is very difficult with elastic cummerbunds, and the vest tends to slip off or come apart. My teammates can still pull me off the X, but we have to use the classic “arms under the armpits and hands clasped in front of the chest” technique.
- The extra long velcro tabs on the cummerbund allow for fitment over and under a variety of garments. Without adjusting the tabs on the back, I am able to wear the Vakarian over everything from a t-shirt to a carhartt jacket and over-whites. No adjusting buckles when the temperature changes, just throw it on and fold the cummerbund tabs across the front.
Summary
I would like to update my previous rating of the Vakarian from 4/5 to 5/5. It has held up remarkably well, and is clearly ready for serious use by the professional civilians that it was designed for. It is exceptionally comfortable, very affordable, and highly modular. On top of all that, the customer service cannot be beat. Rebel SMG has been extremely considerate of his customer base, going above and beyond to ensure that everyone is satisfied with his products.
I am happy to endorse the Vakarian for use by serious prepared civilians. I am now done with the testing phase of this item and I have no intention of switching to something else at this time. In fact, I am working to convince more guys in my local readiness group to get Vakarians because of how simple and effective it is.