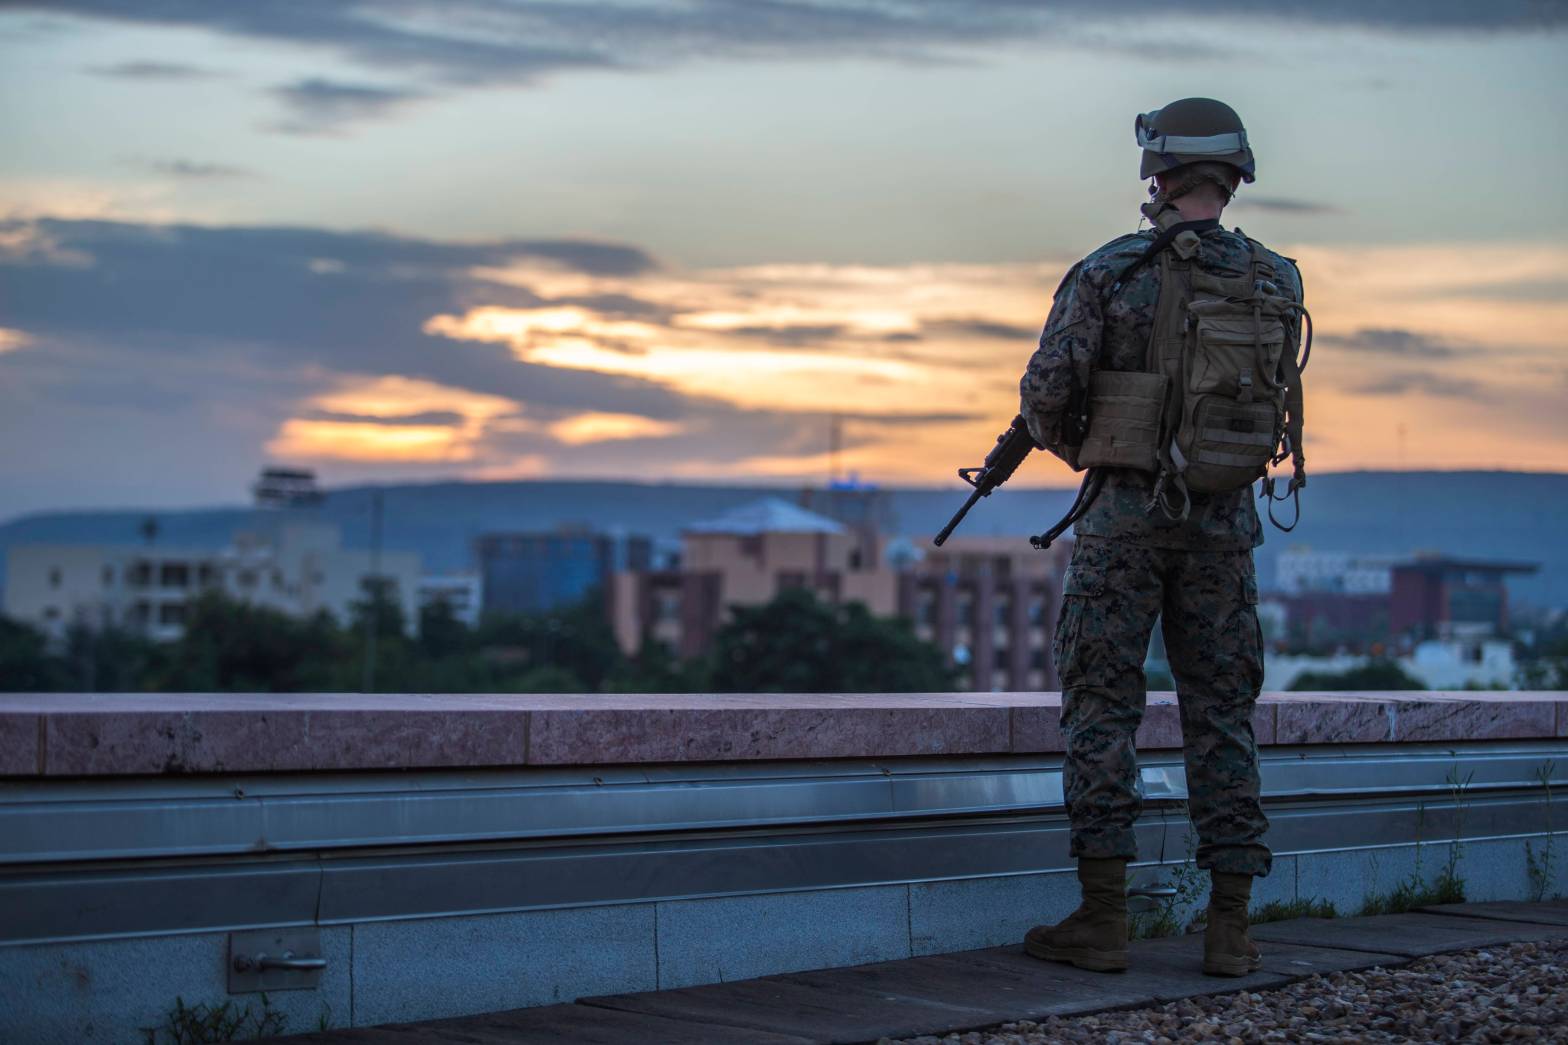
Part I of this series laid out the pros and cons of armor and provided context on when it should be used. Part II was a guide on what to look for when purchasing armor. Today, in part III, I will demonstrate proper fit and wear of a plate carrier and provide some tips on how to set yours up.
Fitment
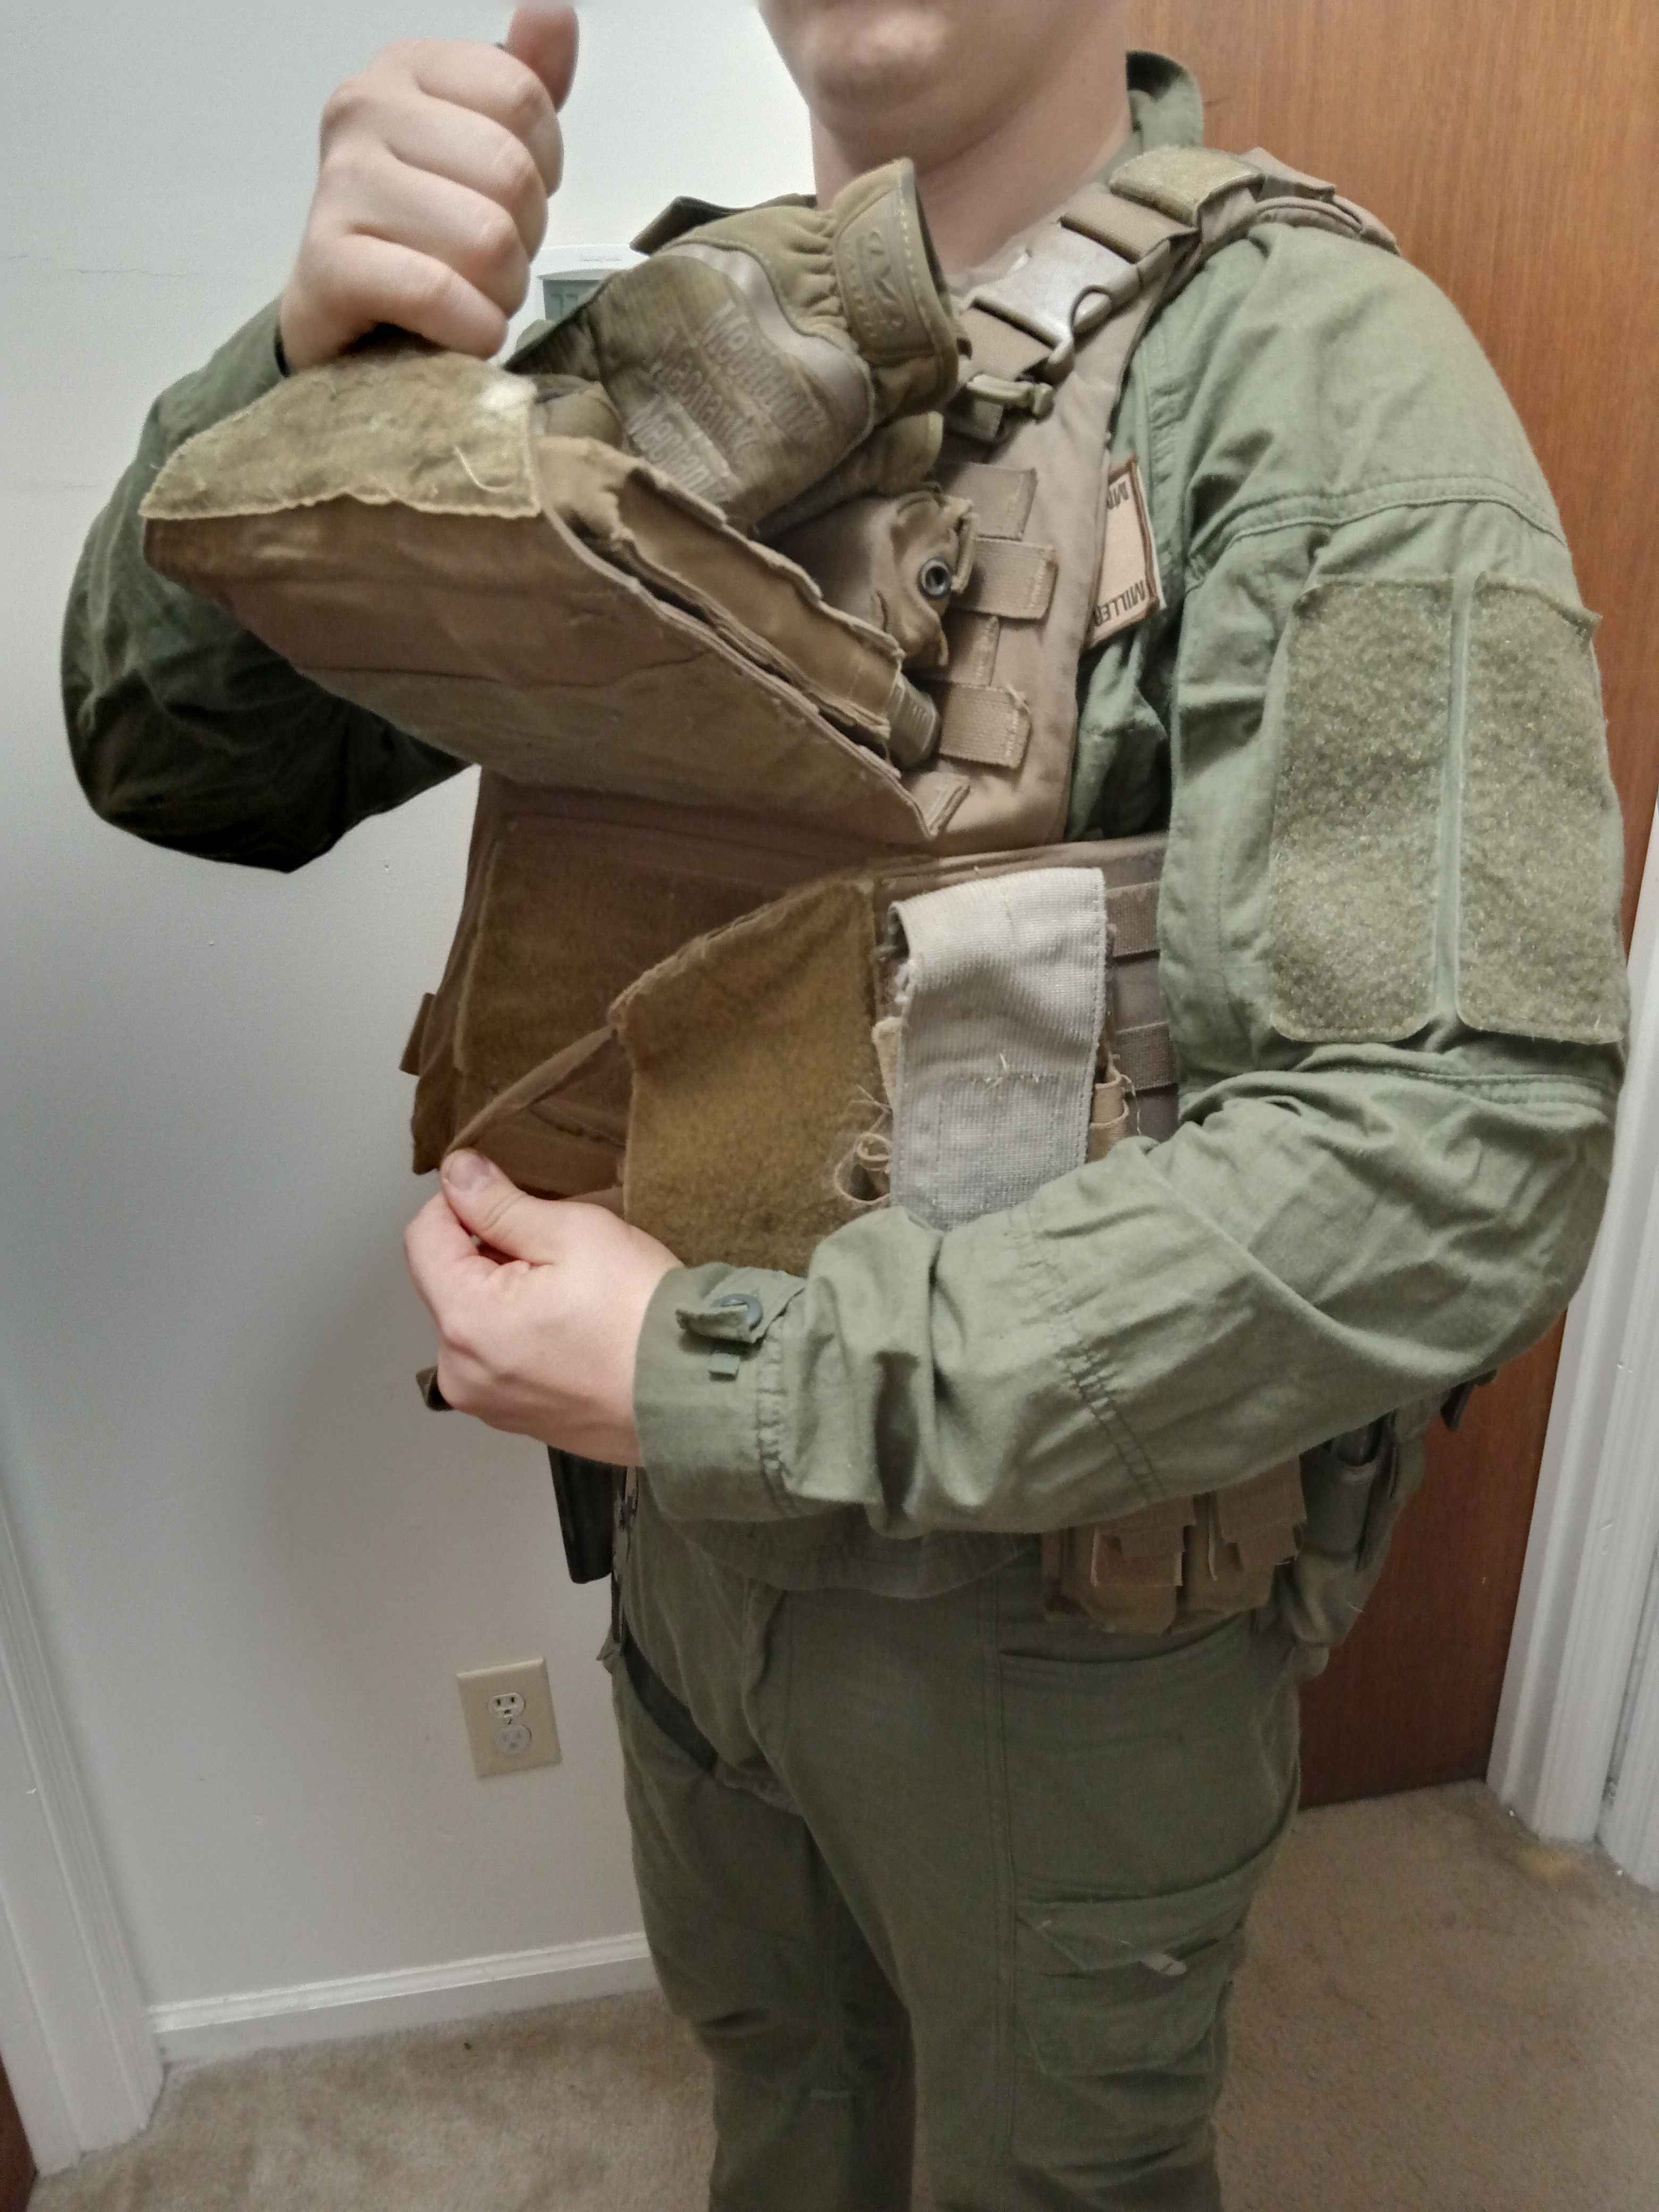
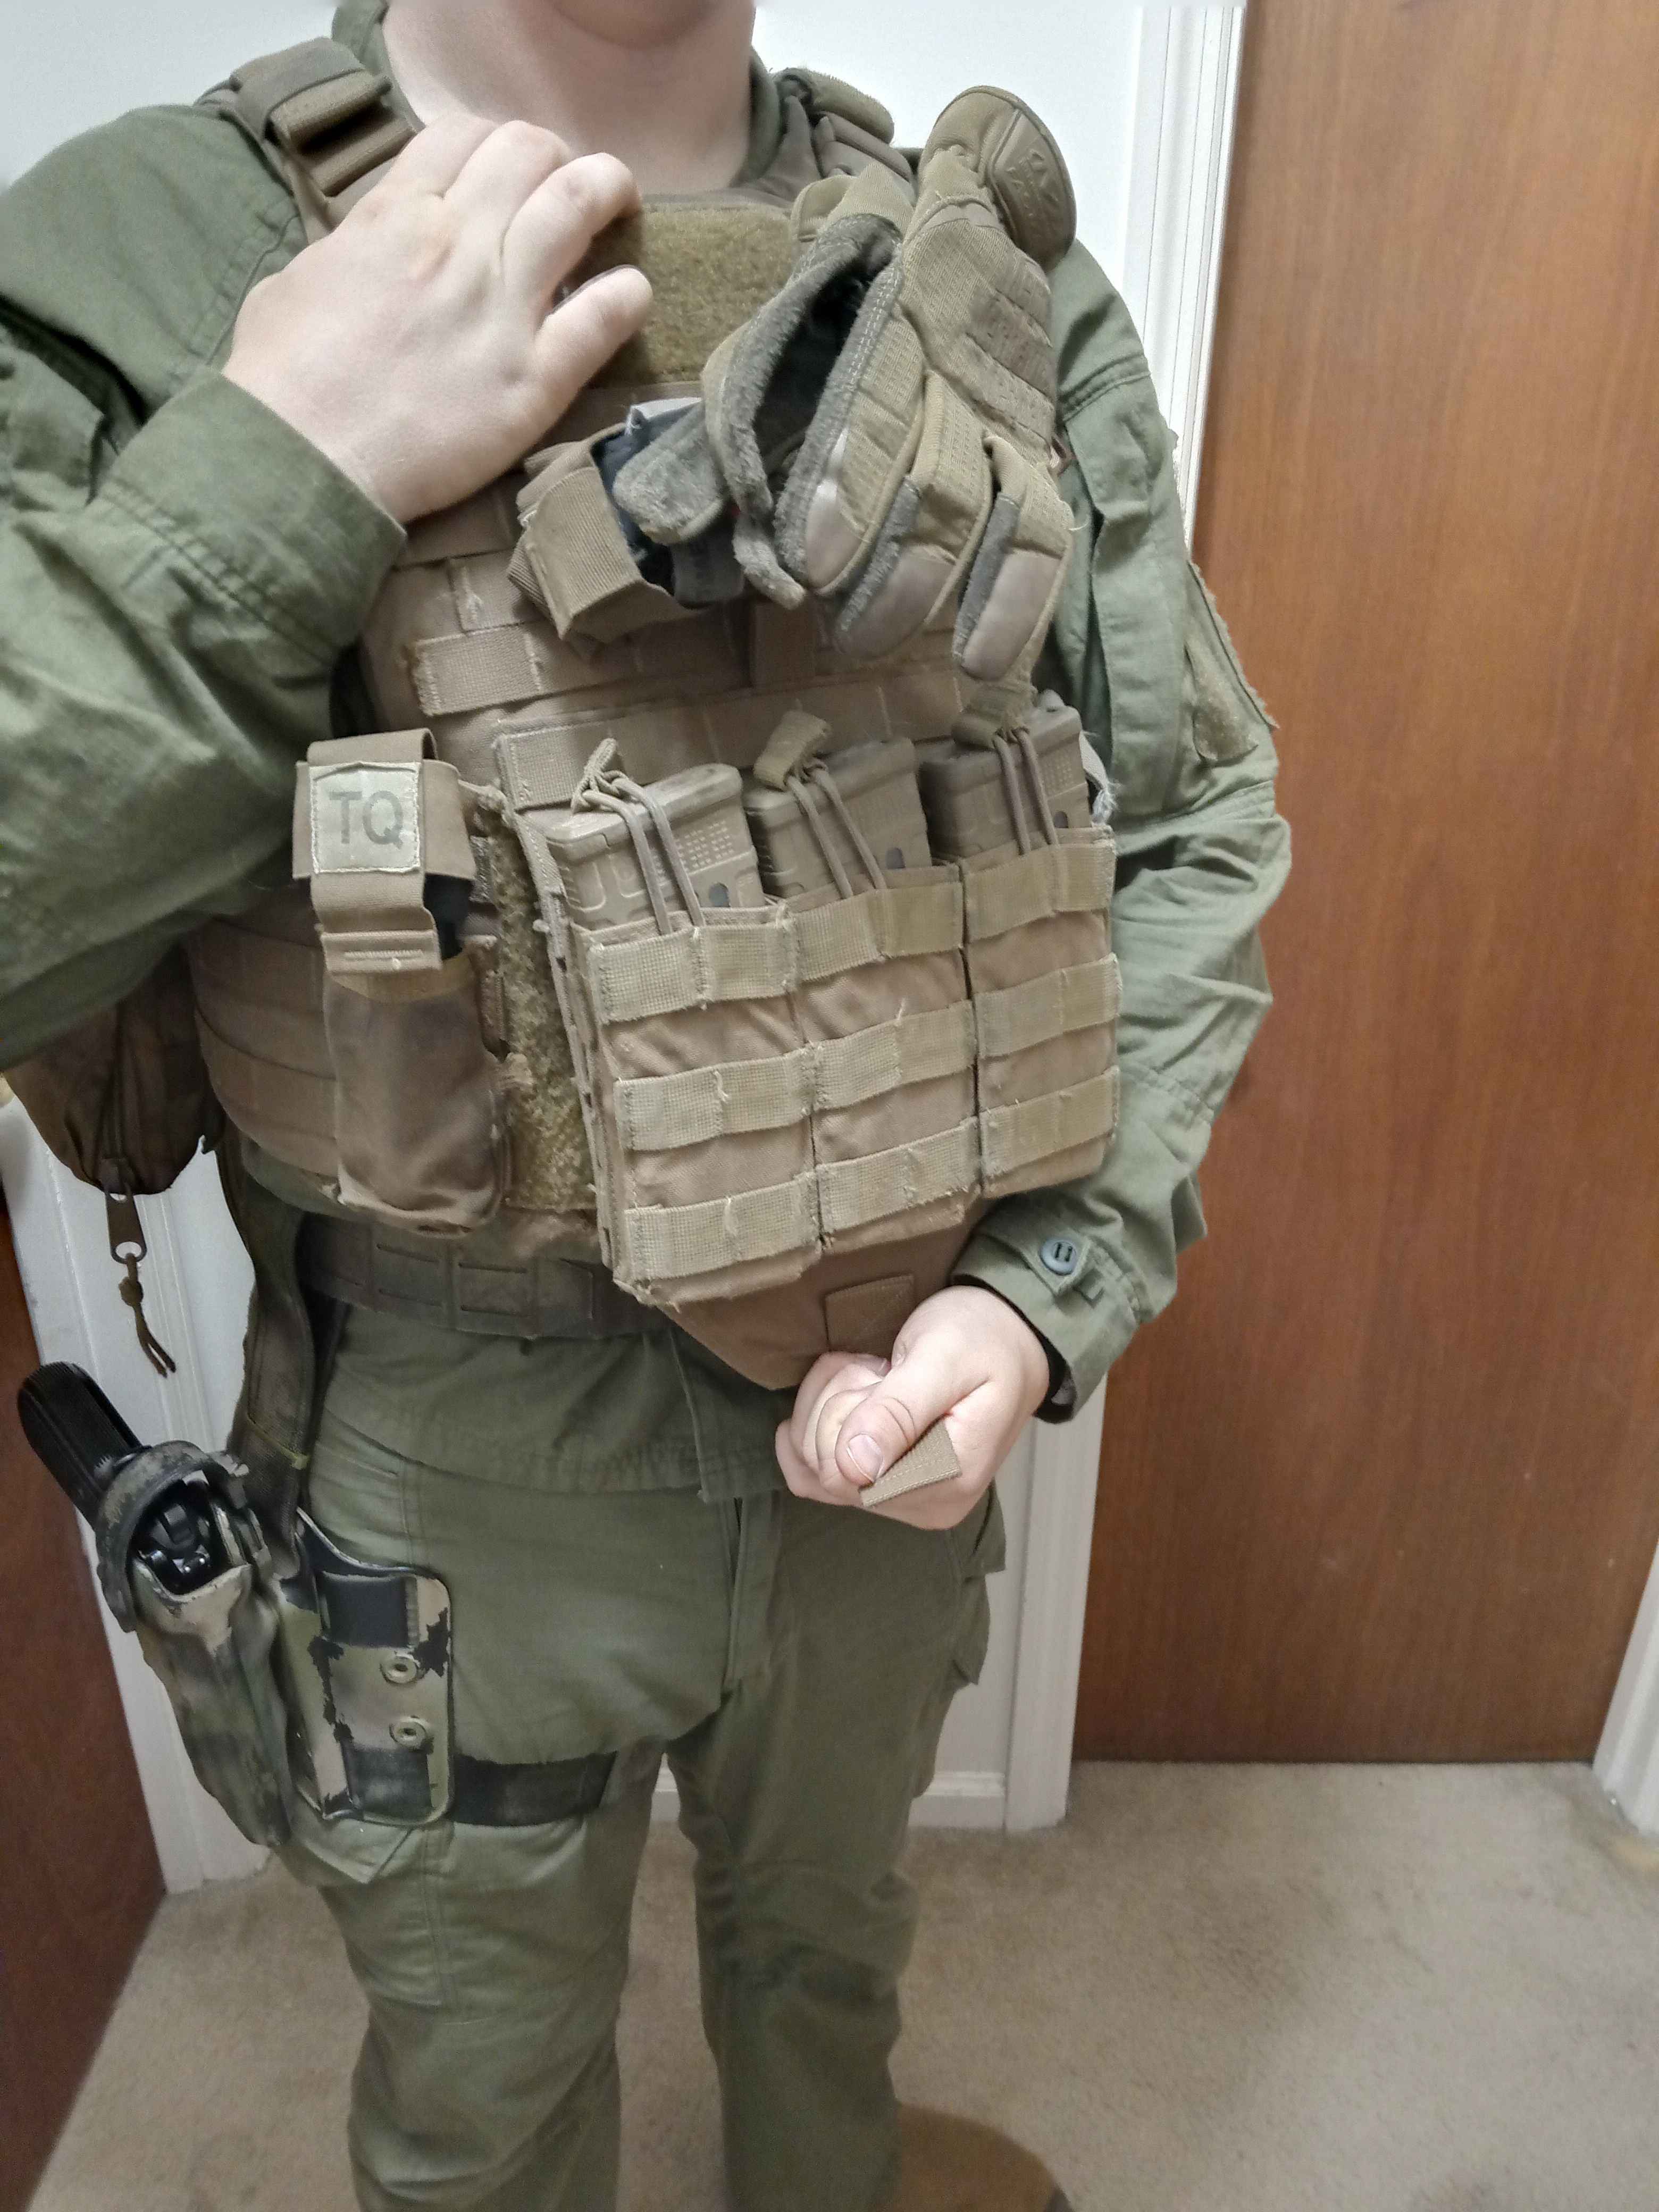
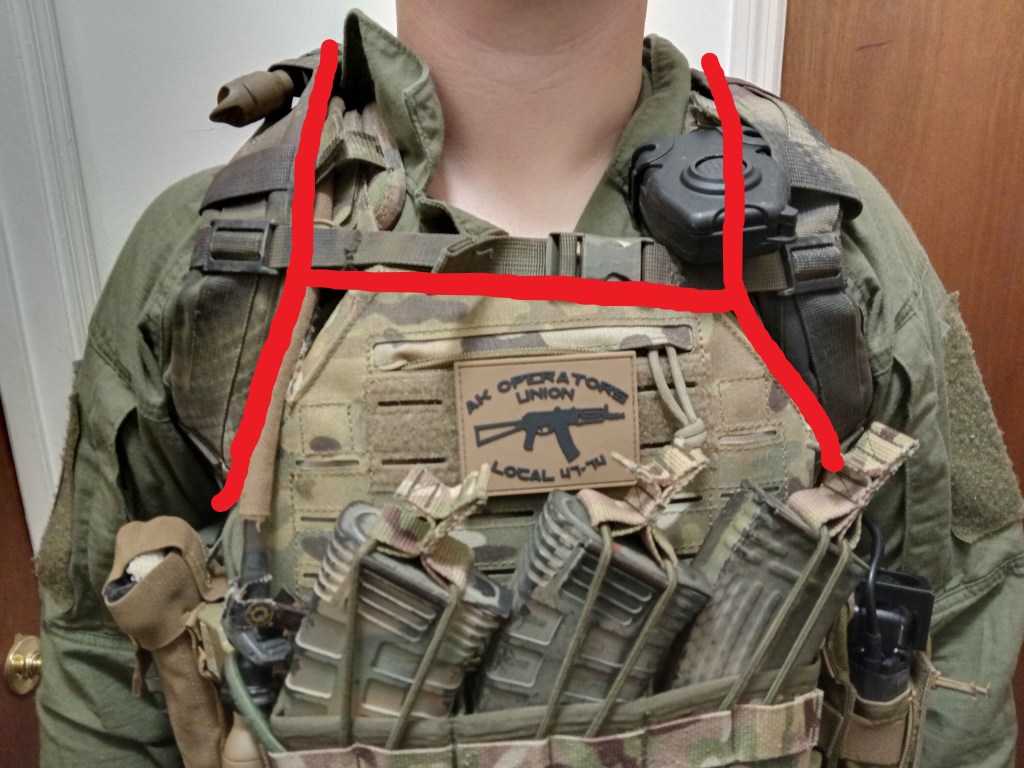
Armor plates should be high enough to protect the vital organs in your upper chest (heart, lungs, and lower trachea). Adjust the shoulder straps until your plates are at the proper height as shown below:


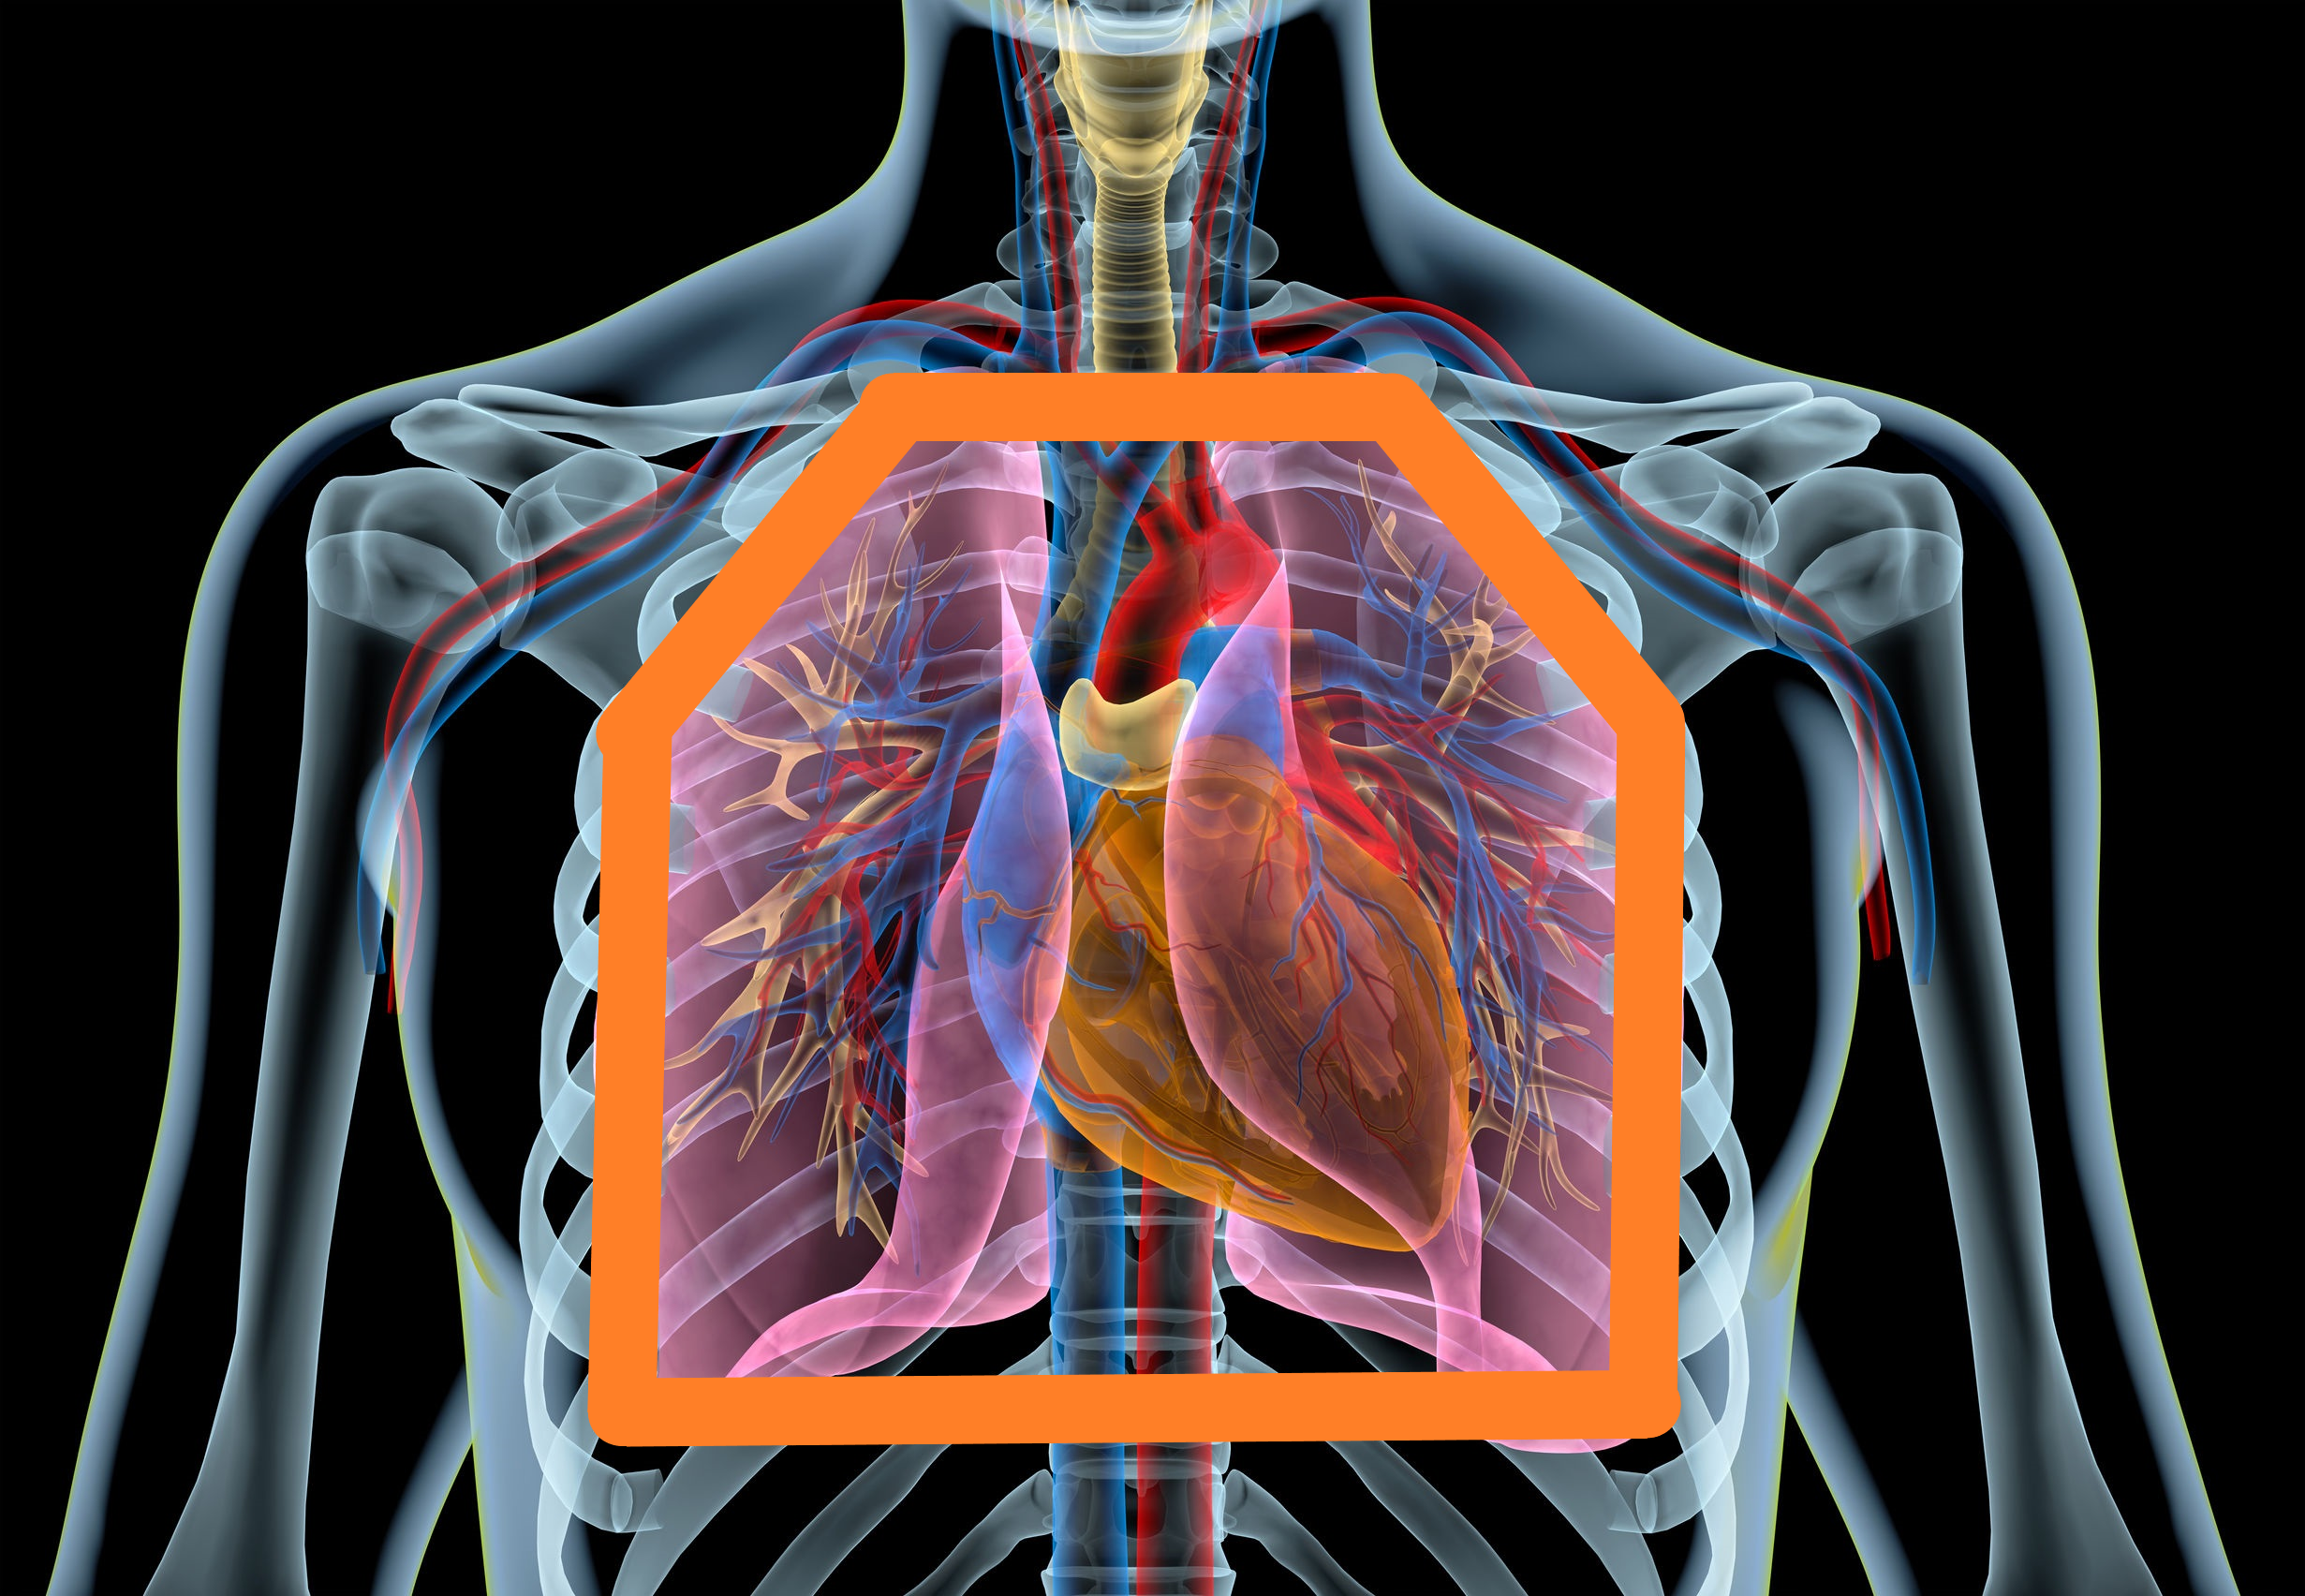
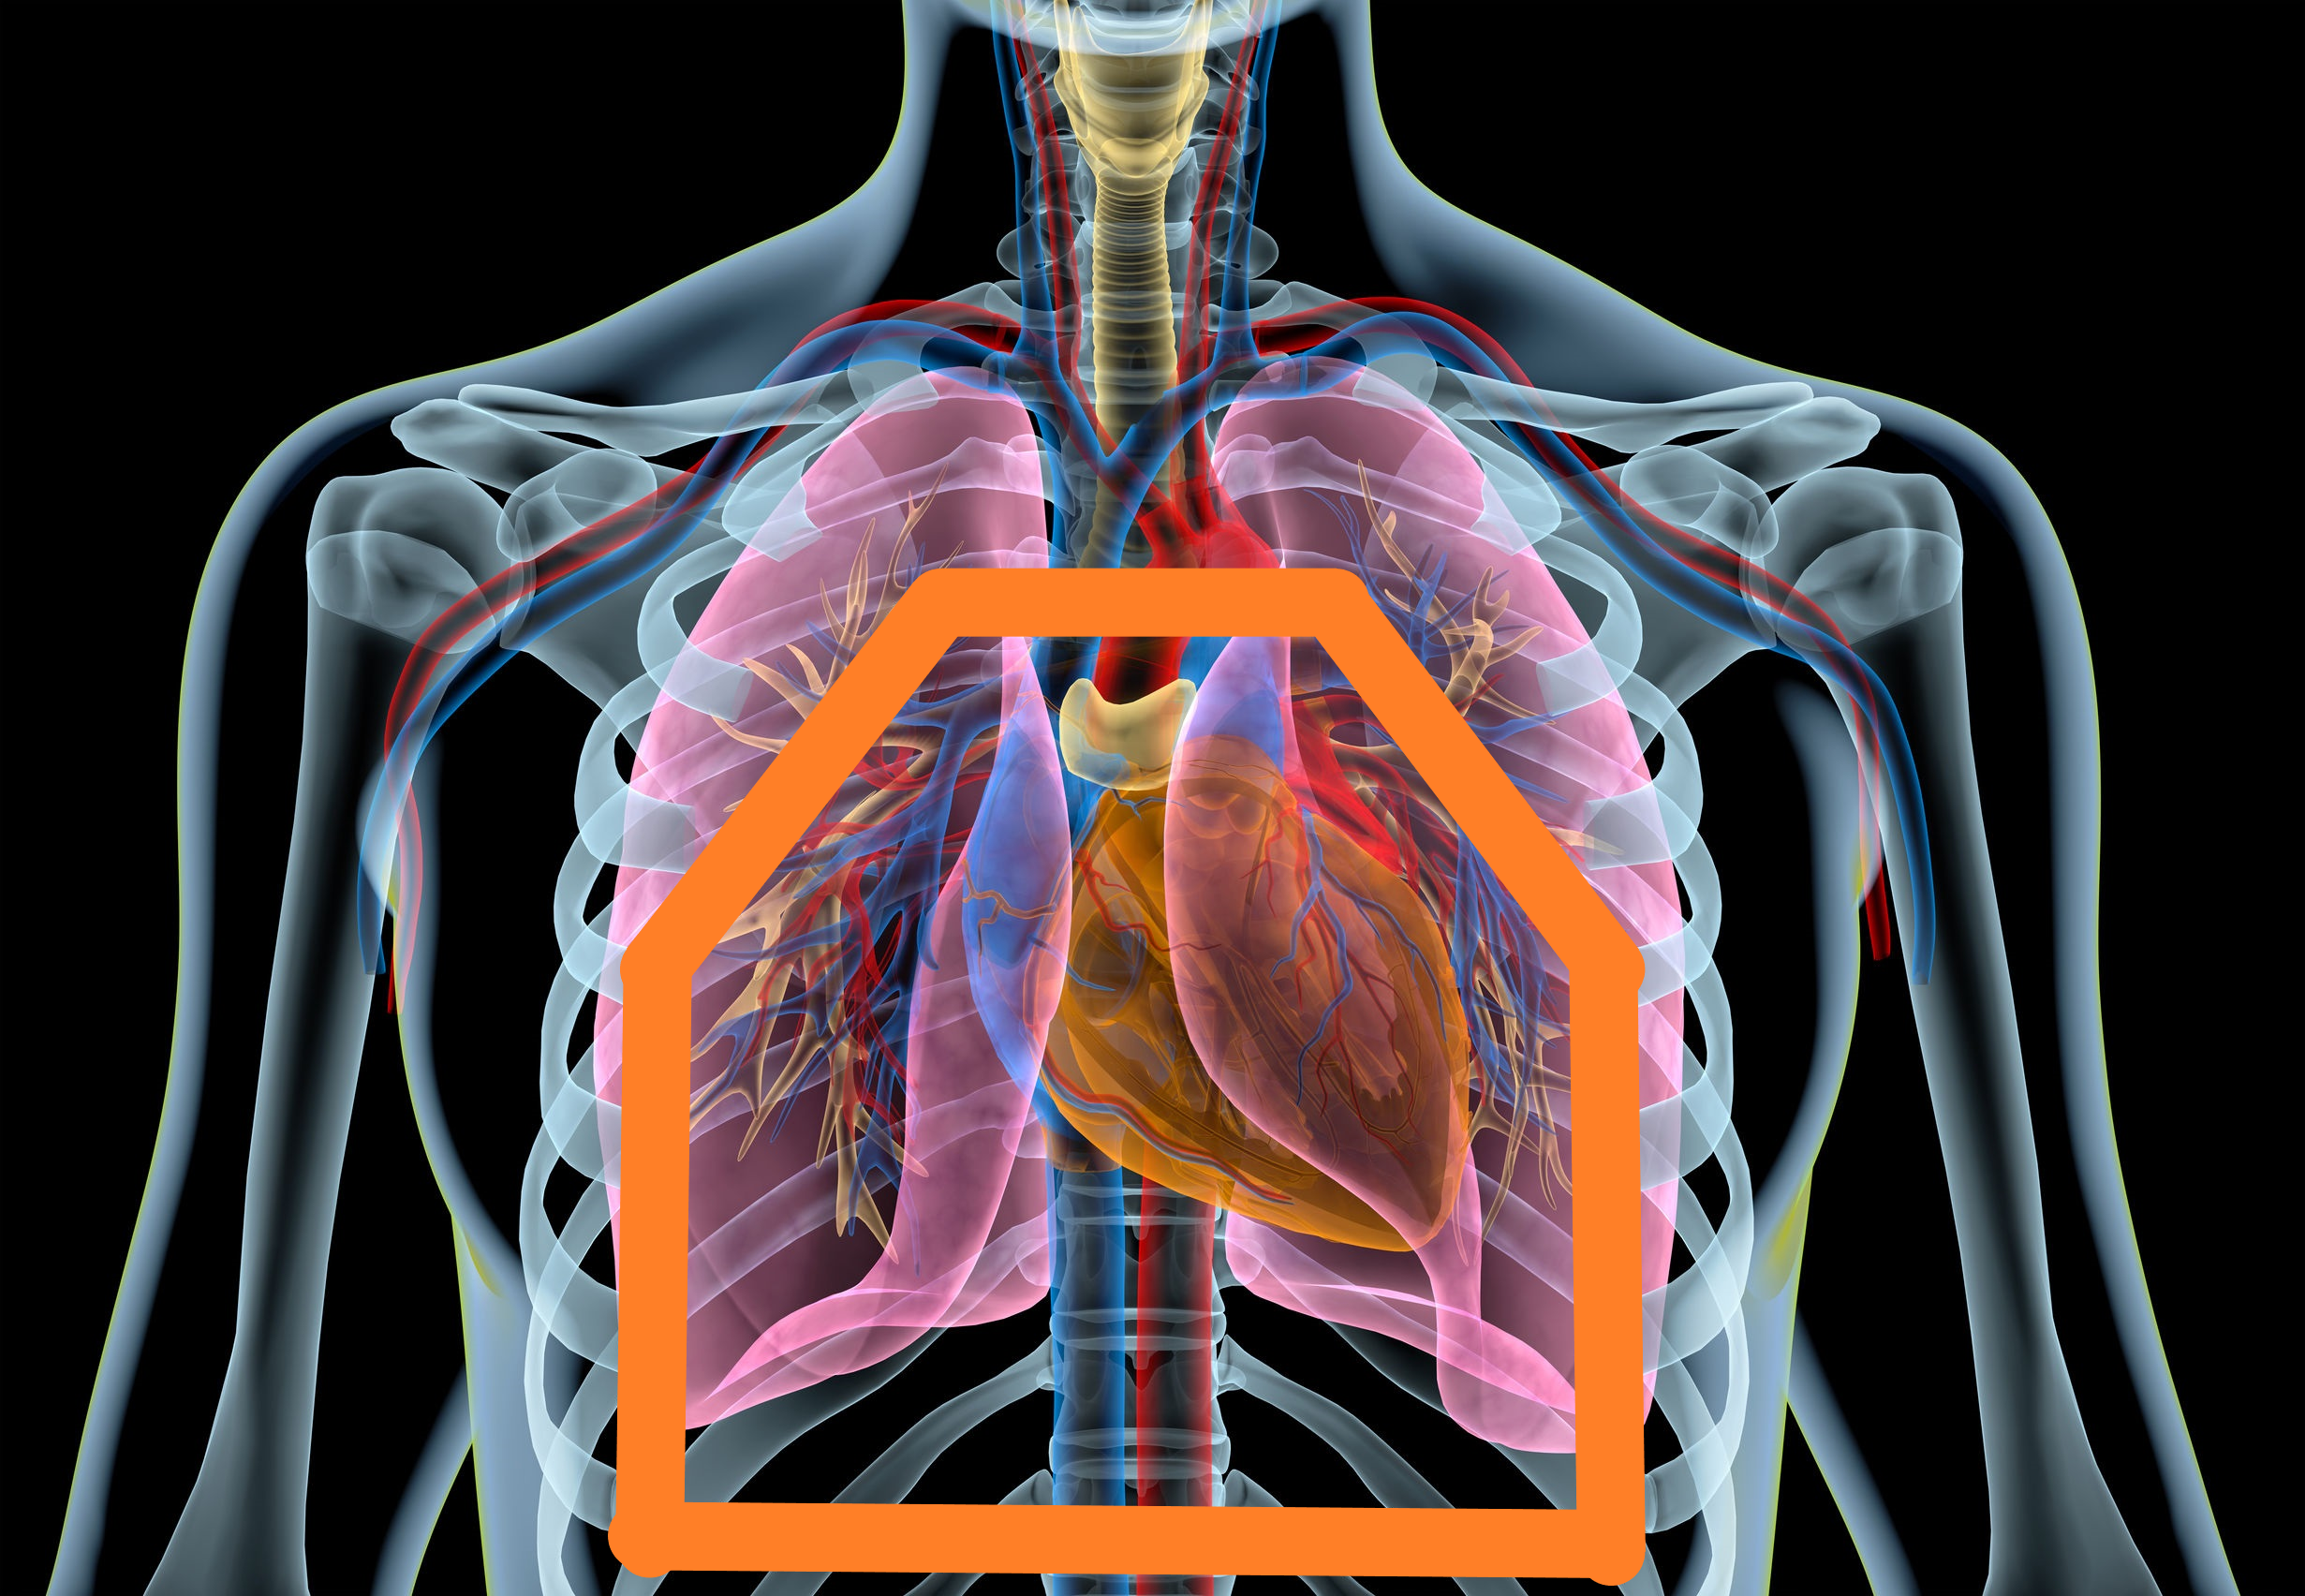
The image on the left shows the armor plate (in orange) worn properly over your heart and lungs. The image on the right shows improper plate height, leaving parts of the heart and lungs exposed.
Once your plates are at the correct height, tighten the cummerbund so that it is snug, but not tight. Take a couple of deep breaths, do some jumping jacks. It should be snug enough that the plate carrier does not slide around (which causes chafing), but not so tight that it restricts your ability to breathe. If you feel your chest being “squeezed” when taking deep breaths, the cummerbund is too tight.
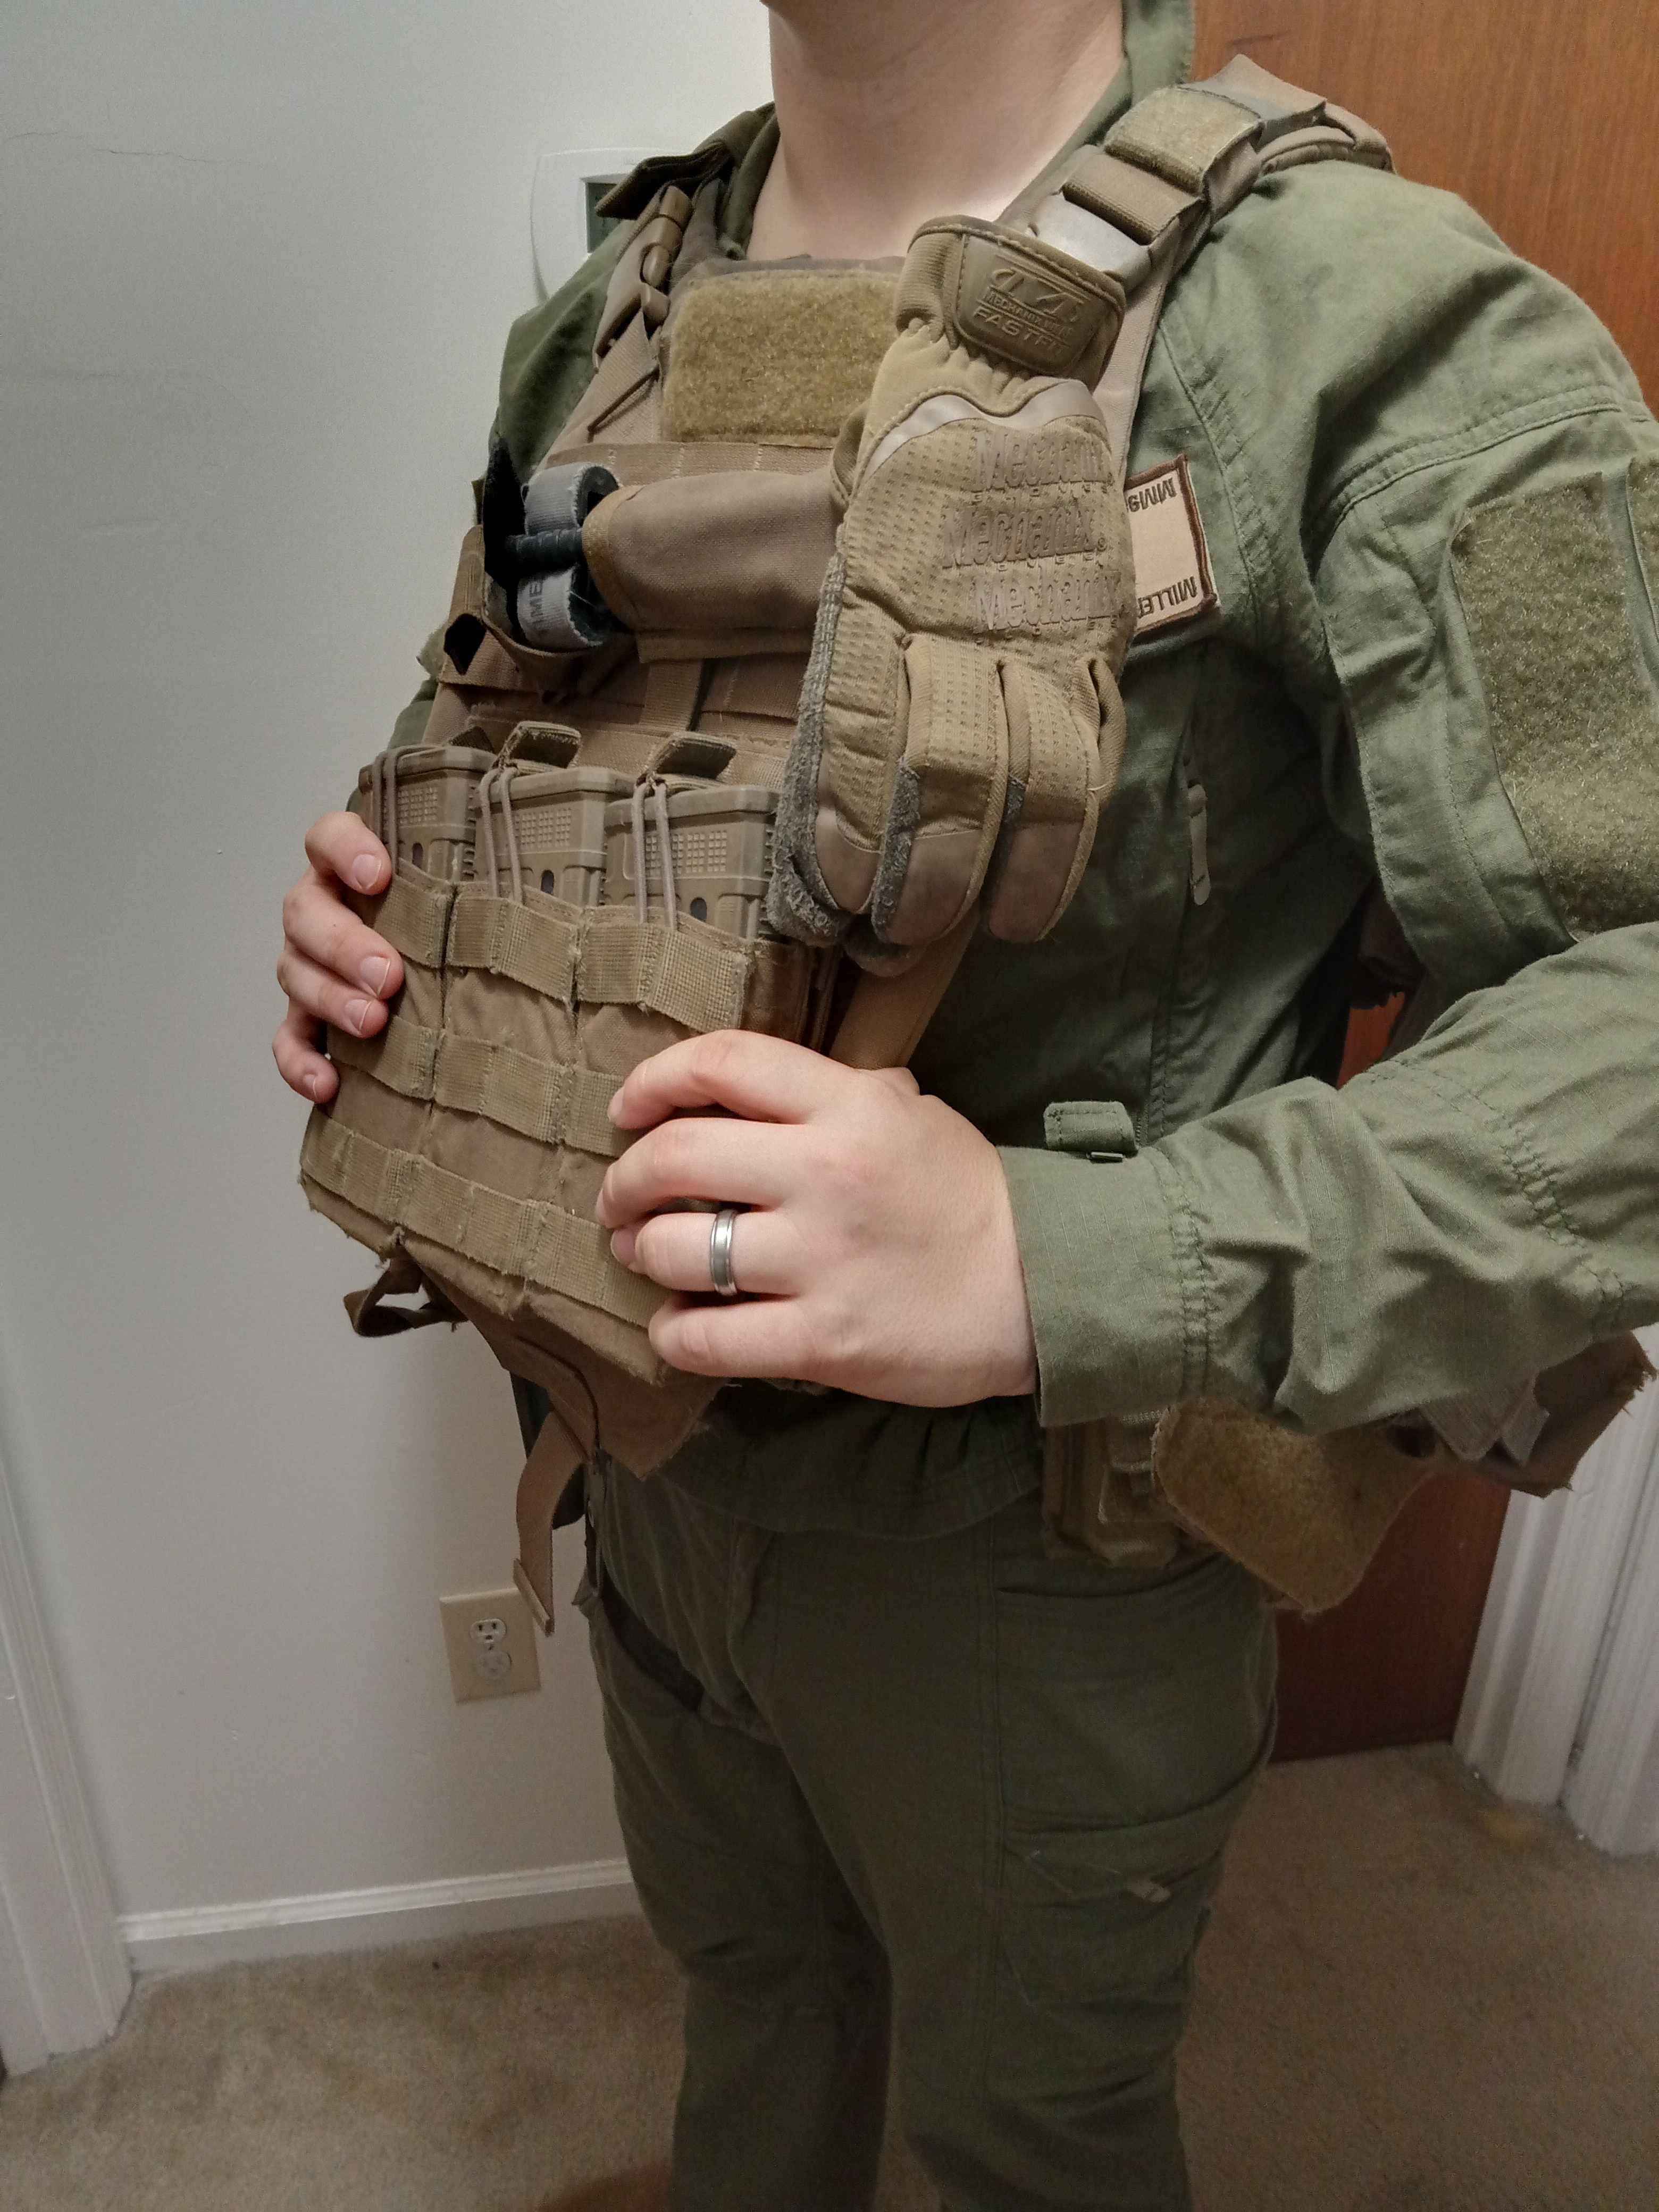

Velcro cummerbunds are best because you can quickly adjust the tightness for different types/layers of clothing.
Wearing a Plate Carrier
Body armor is uncomfortable, you’re just going to have to accept that. That said, there are some ways to make it slightly more bearable.
What you wear under the plate carrier is important. Your base layer should be made of a moisture-wicking material that dries quickly. Cotton is a bad choice because it retains moisture and can accelerate chafing underneath the plate carrier. This means that those $25 “combat shirts” on amazon are a no-go for anything other than cool-looking selfies. Invest in a quality combat shirt, or at least a couple dry-fit long sleeve shirts in muted colors.

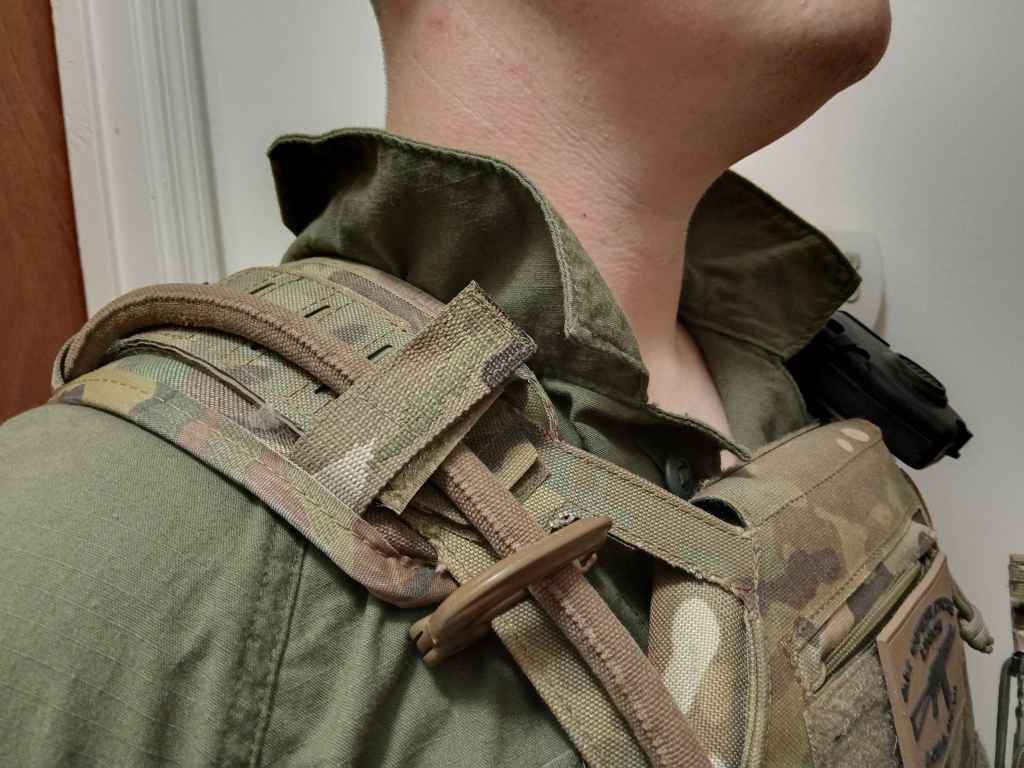
Collared shirts can help mitigate chafing from shoulder straps rubbing against your neck. To take advantage of this, make sure to “pop” your collar over the straps so they aren’t just flattened underneath.
When wearing a backpack over your armor, be sure to use the sternum cinch (the strap across your chest). This pulls the shoulder straps in so that they rest on the front plate instead of your shoulders. This distributes the weight of your pack onto the plate carrier and makes it easier to carry, while also preventing the straps from cutting off the circulation in your arms.

The best way to mitigate the discomfort of body armor is simply to get yourself accustomed to wearing it. Once a week, throw on your plate carrier and run a few miles in it. I know, it’s not as easy as buying some gadget, but it’s far more effective. Once you’re used to running in your armor, sitting in a guard post or a vehicle with it on no longer seems that bad. And if you’re not physically able to run even 2 miles with a 20lb plate carrier, you need to get in shape.
Assembling a Plate Carrier
If you’ve read my other articles on gear, you know that I prefer to give general advice rather than hard rules. This article is no different, so the following are my tips from my 8 years of wearing body armor in many different configurations for many different mission sets.
- Refrain from putting a ton of gear on the front. It makes getting into the prone very, very uncomfortable when that front plate is digging into your stomach. The most I put on the front is a single row of magazines and maybe a thin admin pouch.
- If you will be in vehicles, keep the back as slick as possible. Sitting in a vehicle is bad enough with a slick carrier, you don’t need to make it any more uncomfortable by having a bunch of stuff on your back. At MOST, I put a hydration pouch on my back.
- Add a DARC strap to your plate carrier. This is a very simple mod that makes it a lot easier for your teammates to drag you to safety should you become a casualty. You can buy the $45 one from Spiritus Systems, or just make your own (it’s very, very easy). There is a pretty useful step-by-step DIY tutorial with pictures at the following link. https://www.devtsix.com/how-to-make-a-quick-extraction-strap-darc-method-t12134.html

- If you wear a tactical belt in addition to the plate carrier (as I do), ensure that nothing on your plate carrier interferes with gear on your belt. You may need to move some pouches around to accomplish this. If you will be mounted (in vehicles) most of the time, keep the belt as slick as possible or skip it entirely.
- Some have found that a slick plate carrier with an LBV or chest rig over it allows for a very flexible loadout. You can have just one set of gear on the LBV/chest rig, and simply choose whether or not you want to wear the armor underneath it. I’ve actually seen this used as a team SOP before, and it was effective.
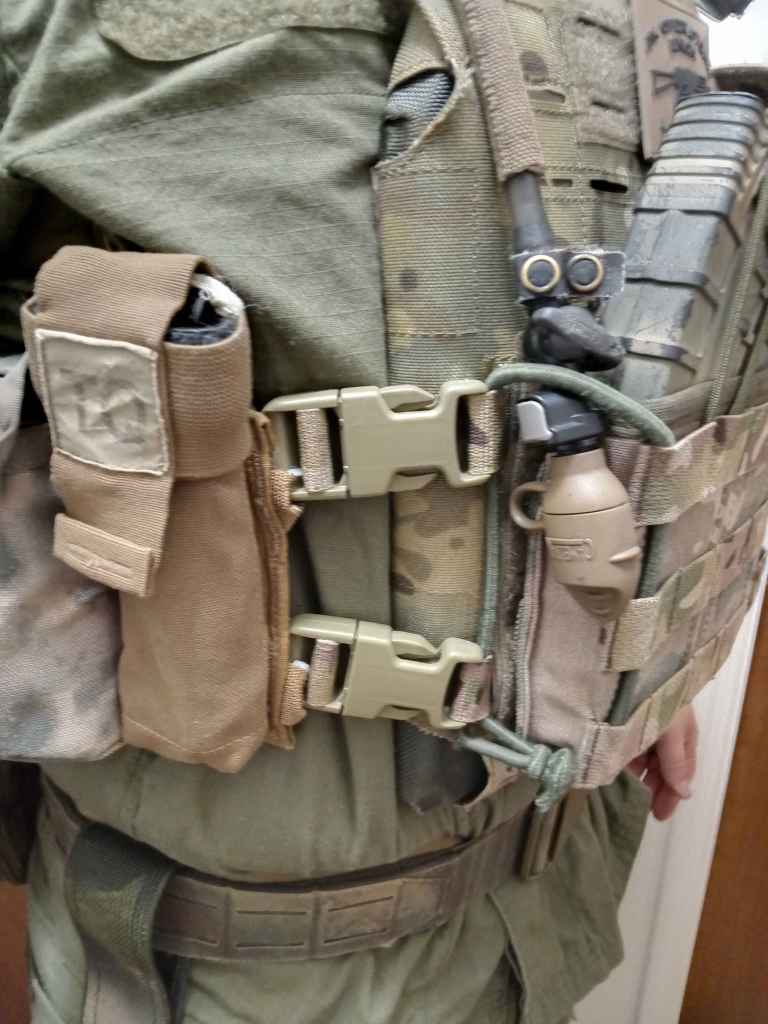
- Nothing should dangle off the plate carrier, be it drinking hoses or straps or radio cables. Everything should be securely attached using zip ties, clasps, carabiners, elastic bands, or good old duct tape. This applies to other pieces of kit as well, but I see it the most on LBVs/plate carriers. Understand that you are planning to fight with this gear on, and the last thing you need is loose cables snagging on tree branches or a drinking hose smacking you in the face when you run.
Summary
This concludes my 3-part series on body armor. In Part I, you learned what kind of protection body armor offers and how to determine whether you need it based on your mission. Part II was a guide to purchasing body armor to ensure that you made an informed choice on your purchase. Finally, Part III wrapped up with some tips and tricks for wearing and setting up your plate carrier.
Body armor, like your rifle, is a tool. Having it is not enough, you must be proficient in its use. Put it on and get used to wearing it. Run in it, shoot in it, wear it to a class. If all you do is put it on for a cool instagram photo, you will be in for a rude awakening when the time comes to wear it for several hours at a time. Train like your life depends on it, as indeed someday it may.

Hop you are well. Please continue to write articles. I get a lot of ideas and learn a nugget or two from each article that you have written.
LikeLike
Thank you. I’m still alive and I will write more articles, I’m just extremely busy right now. Getting out of the military is a real hassle.
LikeLike
Glad to hear it. Hope one day you take the Jager course on the road.
LikeLike