
In Part I, I covered general pros and cons of body armor, as well as considerations for when you and shouldn’t wear it. In this article I will cover what to look for when purchasing body armor.
Determine How Much Protection You Need/Want
The first step in purchasing armor is deciding how much protection you want to have. This will be largely determined by your anticipated opponent and what they use. If you’re mainly concerned about thugs who carry handguns along your daily commute, Lvl II or IIIA soft armor may be sufficient. If you’re thinking about strapping on a rifle to fight other men armed with rifles, you will need Lvl III or IV.

Ensure that the manufacturer has an official ballistic level rating from the National Institute of Justice (NIJ). This means that their armor has been submitted to the NIJ for testing and they have awarded that specific plate a rating based on how it held up in their unbiased tests. If you see plates listed as “NIJ equivalent“, that means that the plates are NOT properly tested, and you should stay away. The best sellers have their official NIJ test results publicly available on their websites.
If you’re looking at plates, the next question is how much coverage do you need/want? The minimum is a front-and-back plate combination. However, there are also side plates that you can get to protect the gaps under your armpits. If that wasn’t enough, there are many different shapes (or “cuts”) of front and back plates. This can be overwhelming for new buyers. All you need to know is this:
- more coverage = better protection, less comfort, less mobility
- less coverage = less protection, better comfort, better mobility
It is up to you to find the correct balance of benefits that fits your needs. I personally have never had a need for anything other than standard cut, multi-curve front and back plates.
Types of Plates
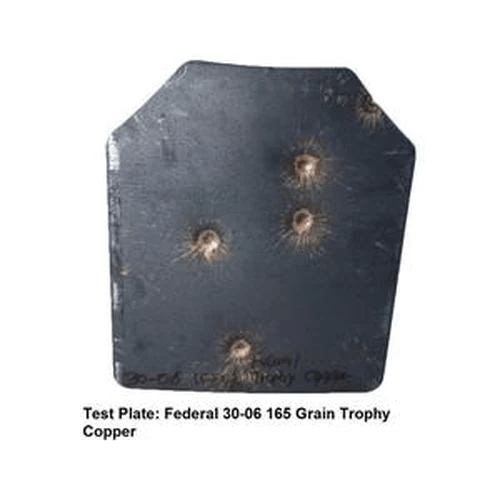
Let’s focus on Lvl III and IV plates. As I pointed out in Part I, the difference between the two is that Lvl IV is rated for up to armor-piercing 30.06, and Lvl III is only rated for most FMJ rifle rounds. The cost difference is not very much ($25-50 more per plate) between Lvl III and IV, and the weight difference is only about 1lb. This minor difference in price is , in my opinion, well worth the extra money. Sure, you could save $50-$100 by going with Lvl III, but how much is your life worth to you?
Another aspect of armor plates is the curvature. There are generally two types; single curve and multi-curve. Single curve plates are simpler to make and therefore cheaper. Multi-curve plates conform better to the shape of your body and are more comfortable to wear. But they are, of course, more expensive.

Steel Armor
Beware of steel body armor. There are several makers of steel armor plates that insist that their product offers the same if not better protection than standard ceramic plates, don’t buy it. The following are reasons to buy ceramic plates instead of steel:
- Most steel armor will, as advertised, stop armor piercing ammunition. However, M193 (55gr FMJ, the most common 5.56 load in existence) is known to punch holes in steel armor plates when fired from a 16-20″ barrel within 100yds. I say again, within 100yds, the most common round in America fired from the most common rifle in America consistently defeats steel armor. The science behind this is fascinating, and you can read more about it at this link. https://diamondage.org/2020/08/24/solving-a-mystery-why-is-m193-better-at-penetrating-steel-armor-plate-than-m855/
- Even when steel armor stops a bullet, the round shatters into fragments called “spall”. This spall has to go somewhere, and that normally means your arms, neck, and chin. Some companies use a “anti-spall coating” that allegedly catches spall, but it is not nearly reliable enough for me to trust my life to it.
- Steel armor weighs roughly 50% more than comparable ceramic plates.
- In the 2010s, steel armor was about half the price of ceramic. This is no longer the case, and in some cases ceramic plates can cost the same or less than comparable steel plates.
You see why I strongly discourage steel body armor. It isn’t worth the money, the weight, or your life.
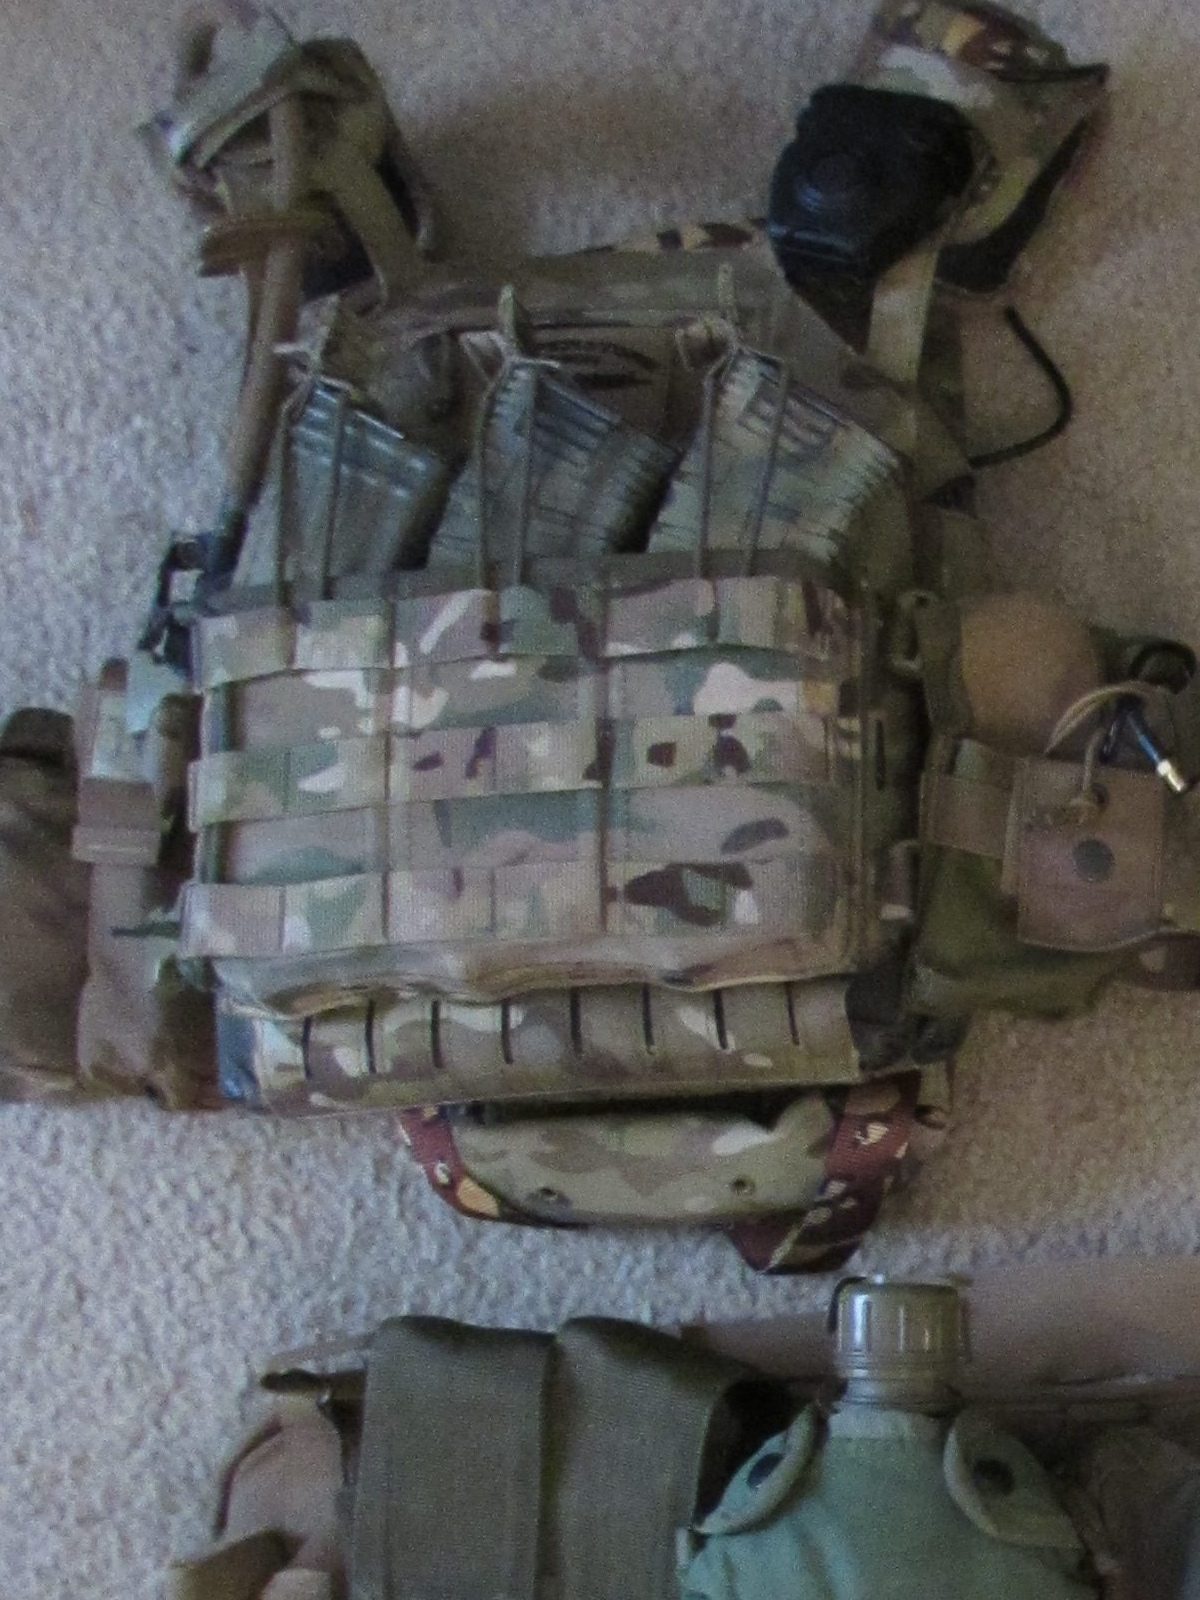
Plate Carriers
Once you get your armor plates, you will need a plate carrier to wear them on your body. There are countless options on the market, and I could not hope to discuss them all. I will, instead, leave you with a few general tips on what to look for.
- Ensure that you get the right sized plate carrier for your plates. Front and back plates come in many different sizes, so make sure that your carrier will fit the ones you bought.
- Ensure that you get the right sized plate carrier for your body. This should go without saying, but plate carriers are not one-size-fits-all. Measure yourself before you buy, just as if you were buying clothes.
- Look for padded shoulder straps. This is more important than you think. No padding, no sale.
- Avoid plastic buckles that bear a load. Plastic buckles are okay only if they’re on a strap that is also held down with velcro. If the buckle itself is under strain, it will creak loudly as you move in cold weather (and also become brittle).
- When it comes to the cummerbund (the part that wraps around your stomach), velcro closure is better than buckles. With velcro tabs, you have a little bit of room to change the size of the waist without adjusting any straps or buckles. This is very helpful when you’re shedding or adding clothing layers, and you don’t need to adjust any straps to make your plate carrier fit. Elastic cummerbunds are also great for this.
- Ensure that the dye in the material is NIR compliant, meaning that it doesn’t reflect IR light and appear to glow when viewed through night vision. Many companies make affordable, cool-looking gear with non-NIR compliant materials (looking at you, 5.11 Tactical). This issue can be fixed, however, by spray painting the vest.

Summary
Hopefully by this point you have a better understanding of what your options are. While I couldn’t review every available armor product, the general guidelines laid out here will serve you well as you prepare to make this investment.
My personal recommendation is a set of ceramic, Lvl IV, multi-curve front and back plates from a reputable company. If you will be riding around in vehicles a lot, I’d also recommend investing in side plates. Of course, your mission and your budget will lead you to your own decision, and that’s perfectly fine. At least now, yours will be an informed decision.
Whatever you get, make sure you train in it. A lot. Part 3 will cover how to set up a plate carrier and how to properly wear your body armor, so stay tuned.

Thanks! Great informative series.
LikeLiked by 1 person
I appreciate your writings, I hope to see much more soon.
LikeLiked by 1 person
Thank you! Definitely more to come, I have a couple things in the works.
LikeLike